updated 20april2012
The crank of your bicycle is one of the parts that wears a lot, because of the big forces involved.
But repair is easier than you think.
The following steps include everything, also what to do when something goes wrong..
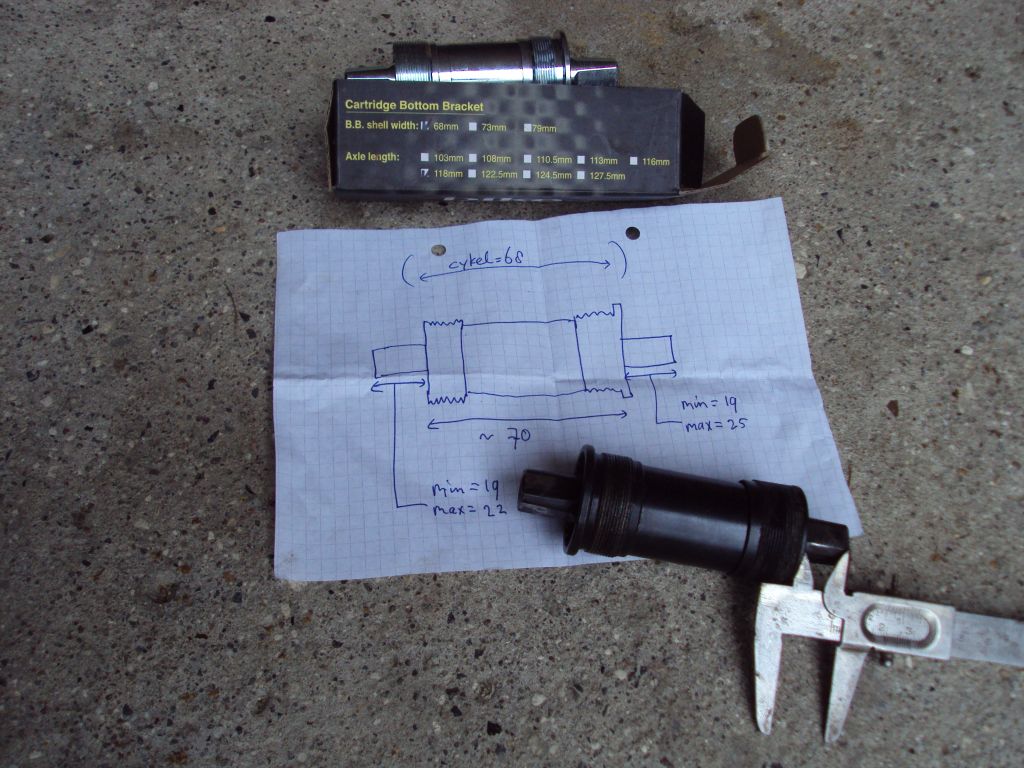
step #1 Very important! Some measurements.
Measure these things on the sides of your crank; this is needed because you will possibly not be able to buy exactly the same crank and pedal arms,
and you have to decide what can be used and what not. (Never trust the people in the bike-sparepart-shop; they have not seen and measured
your bike before you took it apart):
a) space between left arm and frame (should optimally be between 5 and 10 mm).
b) space between right arm and frame (should optimally be between 5 and 10 mm).
c) space between right side of crank and cogwheel (this cogwheel should be aligned with your rear cogwheel)
The idea is that you have some figures that finally can let you put some minimum and maximum values on what can be accepted of your new crank.
For some bikes, the length of the axle is different for left and right side, and that can be important for the above a), b) and c).
This is what I came up with as optimal values for my crankbox, and what I was able to buy:
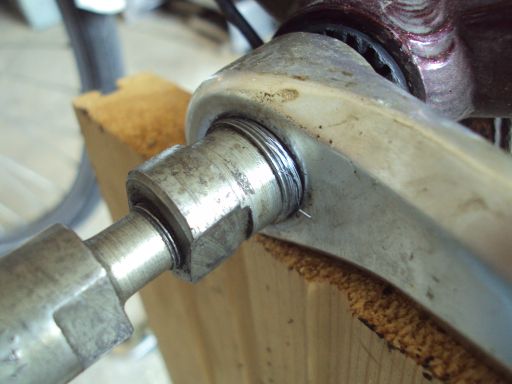
#2 Take off pedal arms.
You have to use a tool that has one side that fits on the screw that secures the arm, and another side that can be screwed into the arm and
than tightened so the arm is pulled off.
Make sure that the thread inside the arm is clean, because it is only aluminum and can be distroyed easily.
If the arm won´t come off you can tick gently on it with a hammer, or in severe cases heat the arm with a torch.
When you hit the arm with a hammer, you should place a piece of tree between the arm and the ground otherwise it doesnt really work.
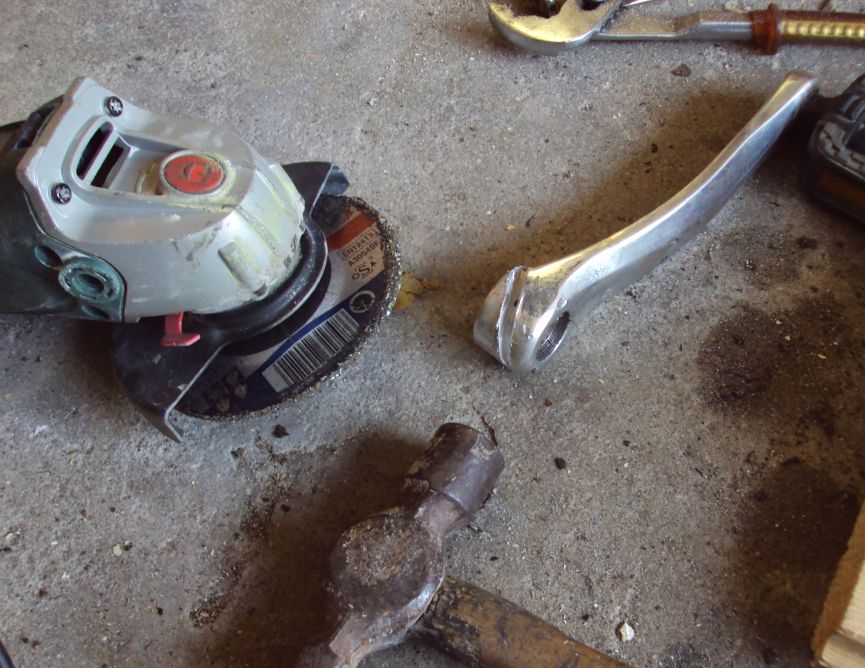
In some very severe cases, or when the thread inside the arm is damaged, the thread is pulled out but the arm doesnt come off.
Then you have to use a saw or a grinder to finish the job.
| Aargh, the thread came out of the arm. | So I used a grinder to weaken the arm. |
 |
 |
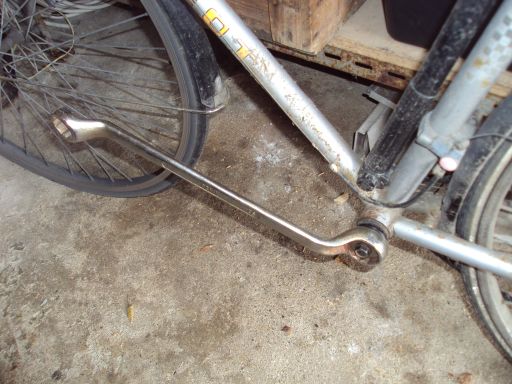
#3 Unscrew the left side cup of the crankbox.
Here you have to use an adapter; a tool that fits into the special pattern inside the cups (very old cranks have a pattern on the outside instead).
Before unscrewing, you should first find out which way to unscrew!
Study the part of the thread that sticks out; normally this side of the crank has standard clockwise thread, but you never know if you have a version
that is opposite...!
If nothing sticks out, you have to assume the following:
French or Danish versions:
- left side is normal clockwise thread
- right side is anticlockwise thread
Italian versions:
- both left and right sides have clockwise thread
Also check what material the cups are made of; some are made of aluminium or even plastic and there you should be very careful. (but plastic cups can
always be cut out if they get damaged when trying to unscrew them).
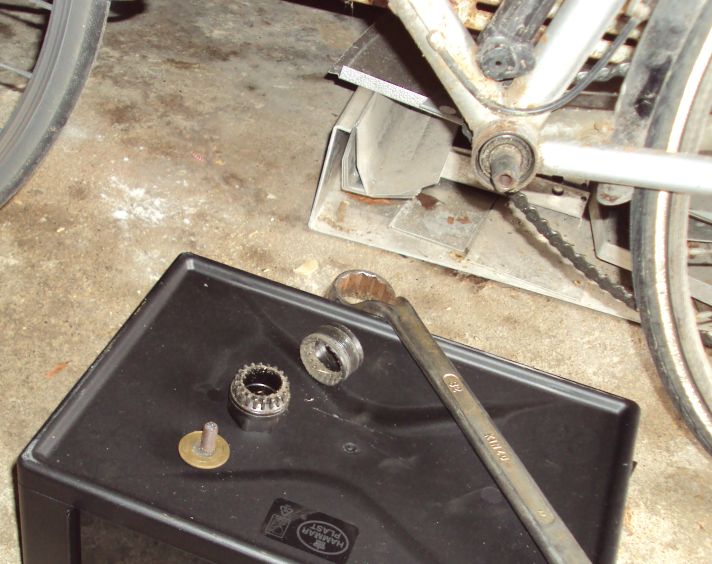
Here a trick that makes unscrewing the cups much easier:
When you use the pedal-arm-screw and a big washer to keep the adapter nicely inside the pattern of the cup while unscrewing, you can use a lot of force
without having to worry that the adapter will slide out and destroy the pattern in the cup.
Remember to unscrew this screw a bit after you started to unscrew the cup, because the axle doesnt come out with the left cup.
| a number 32 wrench fits here. | note the screw and washer, tool, left cup. |
 |
 |
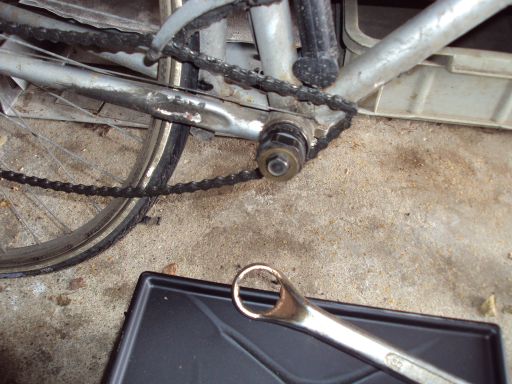
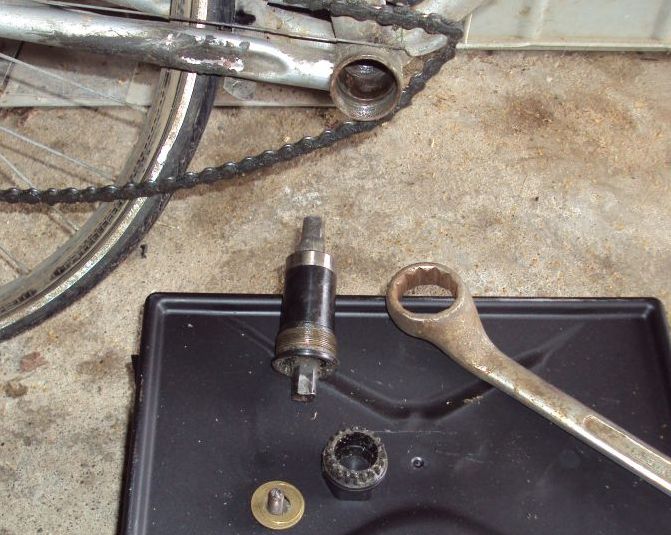
#4 Unscrew the right side cup of the crankbox.
Consider the same things as with the left side.
This cup is often fixed to the crankbox itself.
| screw with washer holding the tool. | note the screw and washer, tool, right cup with crank. |
 |
 |
#5 Buy a new crankbox.
Here you have to make a drawing as I showed earlier. Normally, a new standard crankbox has two numbers; the length of the body and the length of the axle.
The body length should of course be approximately the same as the bicycle frame, and the axle length should fit to get the best a), b) and c) values.
Normally this is not a problem, unless you have an italian bike.
Or an old bike (my racer is from 1981).
NB: In the old days, no complete crankbox was used, but a separate axle, two cups, and 2 times 9 loose balls. That was much more rugged!
#6 mount the new crankbox.
First clean the thread inside the bicycle frame very thorough. I use a little wirebrush to remove the rust.
After that I use a normal toothbrush and motoroil, cleaning all the way round while following the thread.
Then carefully mount the crank. Use grease or oil, in order to make a watertight fit.
#7 Mount pedal arms.
Use grease to make a watertight fit between axle and arm, and also treat the thread inside the arm with some grease; that will pretect
the thread from being rusted away when you have to use it next time to pull the arms off.
Use the pedal-arm-screw to mount the arm. Turn it slowly, giving the arm time to settle. Tighten the screw AGAIN after finishing the complete bicycle,
and ALSO after you have used the bike for several kilometers. Failing to re-tighten will result in a loose arm and can damage it quite much.
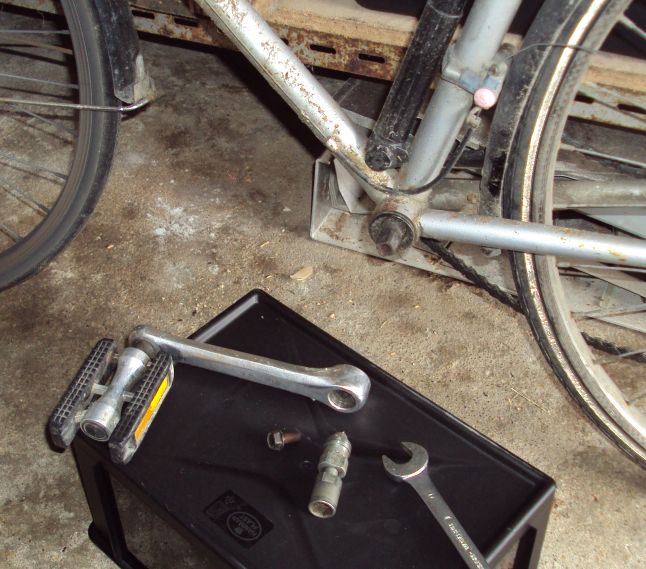
NEVER EVER hit the arm with a hammer while the bike is standing up. It will for sure kill your crankbox, and then you have to do the work all over again.
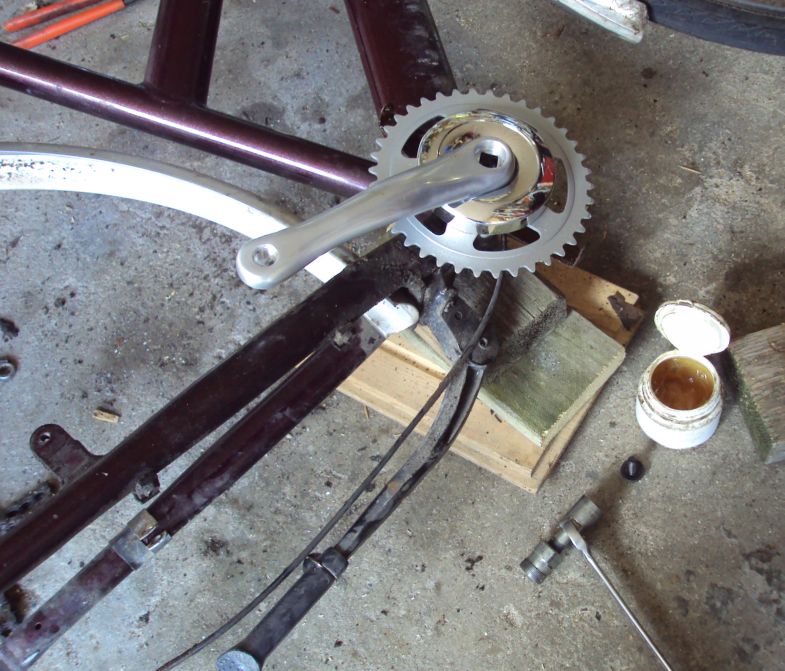
If you really want to use a hammer, then lay down the bicycle and put som wood between the axle and ground (as in picture).
But it is more intelligent to take off the arm, look what is wrong, and use a file to repair the square hole.
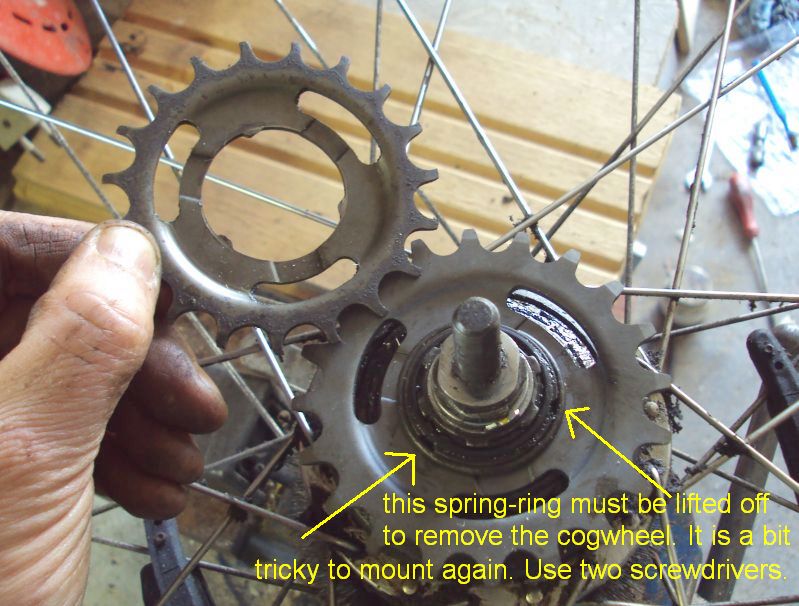
#8 Did you check your cogwheels and chain ???.
Before mounting, you´d better check if your cogwheels are still Ok. Here some examples of old parts, that should have been changed much earlier!
| old and new front cogwheel. | old and new rear cogwheel. |
 |
 |
| old and new chain, with two red marks showing that the old chain has become 2 link-lengths longer!. |


#9 Mount gear cable for Shimano 7gear, if applicable.
If you have a bicycle with a 7gear Shimano hub, then here are some pictures that can be helpful:
| all parts have to be cleaned in order to fit. | then follow the yellow marks. |
| The easiest way to mount the gearshift-cable (shifter must be in 1st gear). | and the cable should run this way. |