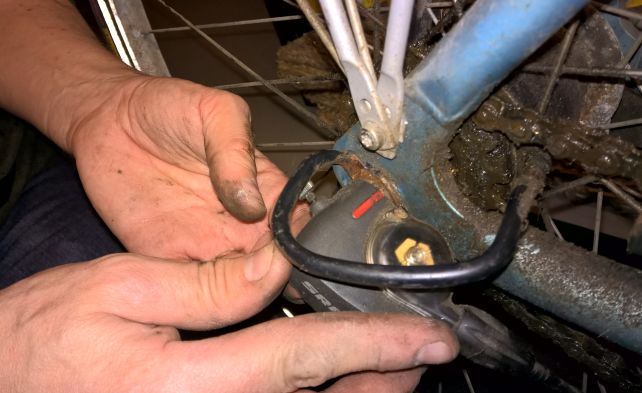
Flat tire? There can be the following 3 possible causes. .
- defective valve
- punctured tube
- defective tube

Repair: 

#1 defective valve.
That is the easiest to repair; just change to a new valve.
To detect if the valve is defect, pump the tire, apply a bit of spit on the valve-top, and watch if it develops an air bubble. When the valve isnt really tight anymore, it will slowly let out some air, which will inflate the spit to an air-bubble.


#2 - punctured tube.
When you are sure that the valve is tight, you have to take the tube out of the tire in order to find the hole.
First check the tire for small pieces of stone, glass, or even screws.

In case of a front-wheel, it is easiest just to take the complete wheel out.
In case of a rear-wheel with internal gear, it is easiest to just let the wheel be and only take off the tire on one side and take out the tube.
Open the tire on the side where there is NO CHAIN, so you avoid getting oil everywhere. Take out the tube completely


Find the hole by pumping the tube, then listening for air or submerging the tube in water.
Use sandpaper to prepare a landing-place on the tube around the hole, apply glue, wait until it is nearly not sticky anymore, than apply the repair-pad and press it on firmly for a minute or so.
If the repair-pad comes with an alufoil on one side and a transparent foil on the other side, first take off the alufoil because that is the side that has to be stuck onto the tube. After the pad is glued and dry, you should carefully take off the transparent foil, because otherwise its sharp edges can slowly cut into your tube as you cycle.

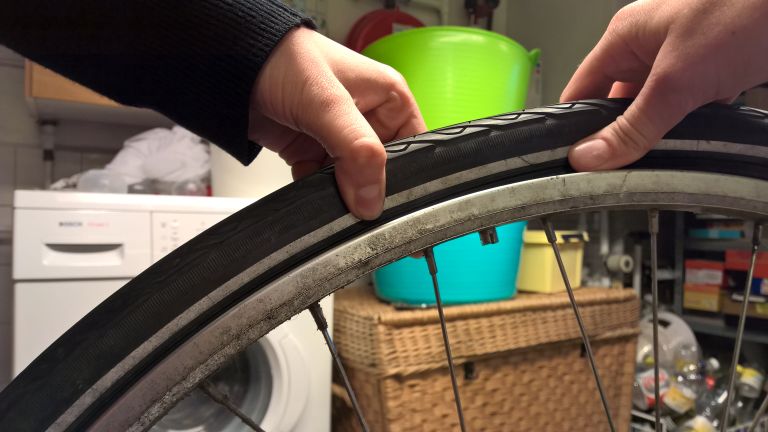
Re-mount the tube in the tire, but make sure that the tube is not twisted , and that the tube is not sitting in between the tire and the rim (especially around the place where the valve is).
You should be able to press on the valve and push it inwards easily, so you are sure the tube is not trapped between tire and rim.
42


#3 - defective tube
Sometimes the hole in the tube is to big to be repaired. I experienced this several times with bad quality chinese tubes, where the tube had developed a rift at the place where it was moulded, without help from any sharp object.

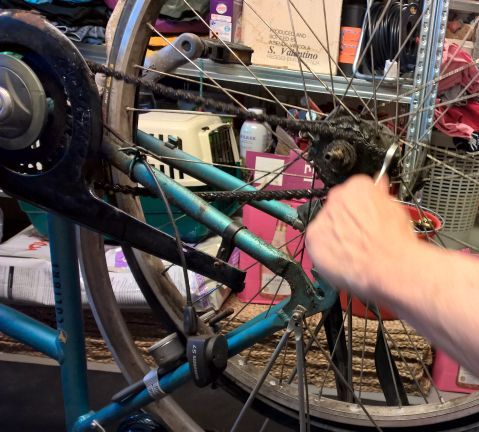
In order to exchange the tube for a new one, you have to take out the wheel. That can be difficult for rookies, in case of a rear-wheel with internal gearing.
The following pictures describe how to do it for an SRAM-7s.
(A Shimano-7 is a bit easier, see a description of that in the end of the "repair your crank" section).

needed tools:
A 15mm spanner (wrench) for the wheel-nuts, a 10mm spanner plus an Allen key or a screwdriver for the foot-brake. 
42

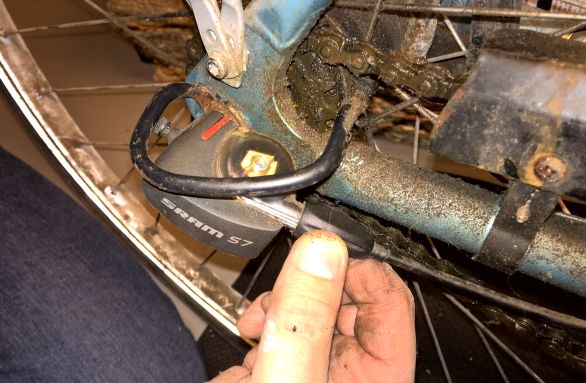
SRAM-S7 .
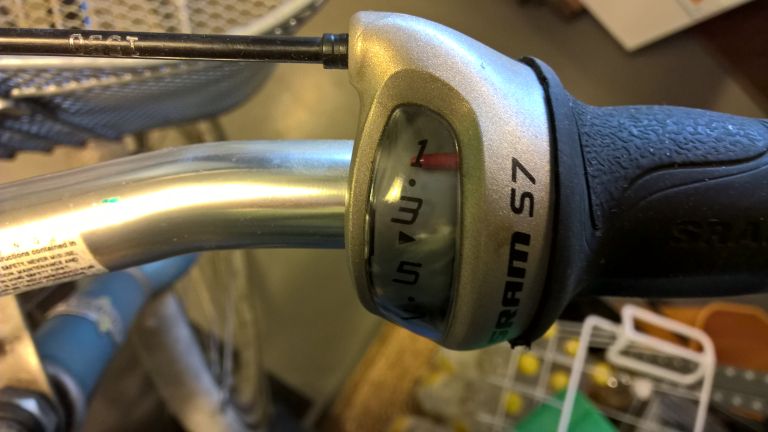
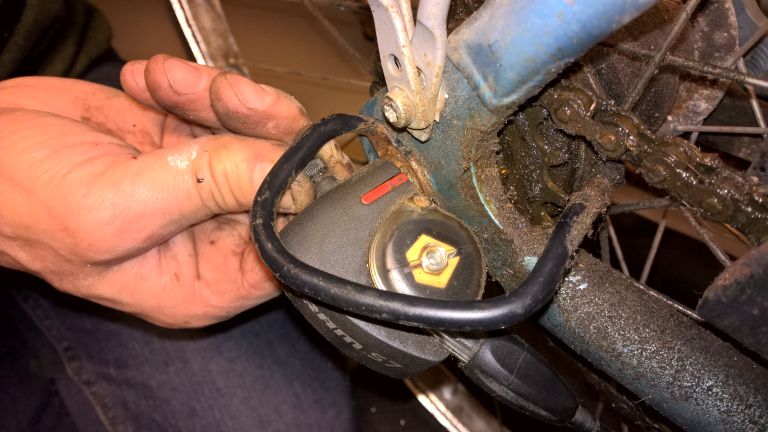
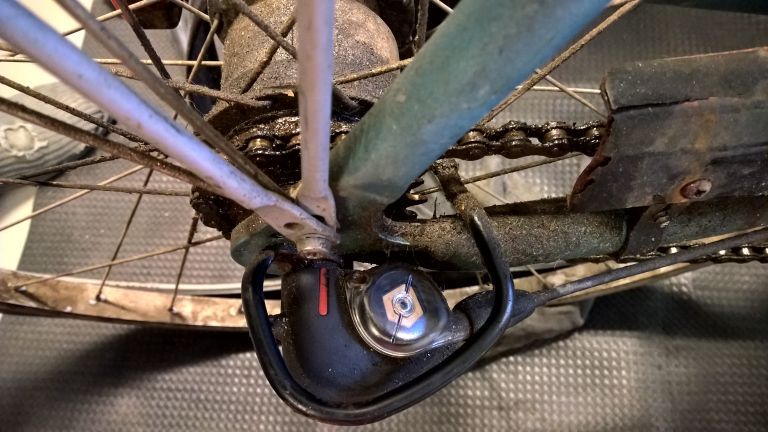
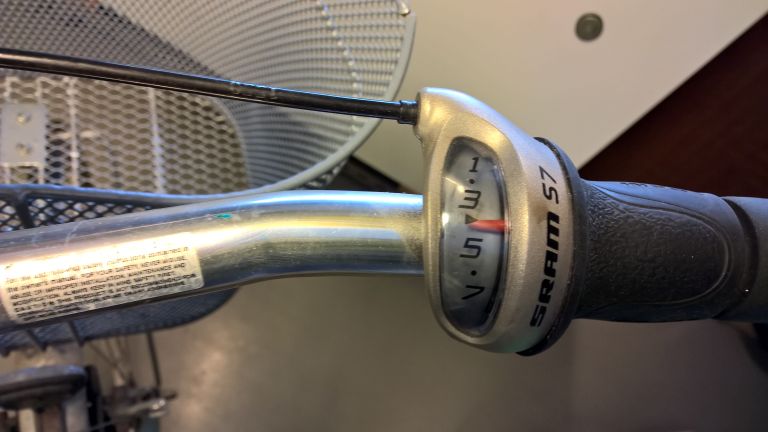
First take a good look at how the gear-switchbox is mounted. NB the transparent part of the switchbox shows a mark that aligns with the rotating switch when placed in the 4th gear.
42
42
Position finetuning can be done here: 42

Removing the gear-switchbox .
NB removing and mounting the switchbox is best done with the bicycle in upright position, so you can keep an eye on the red "guide" between the switchbox and the axle.

Always use first gear when working with the gears. that is the "resting position" of the gears.
42

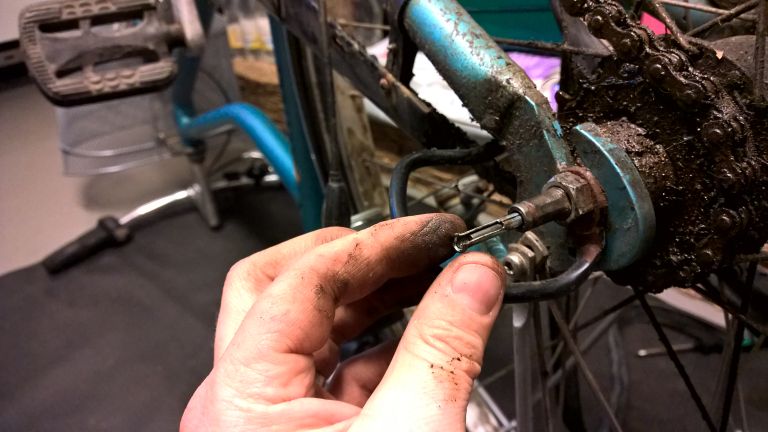
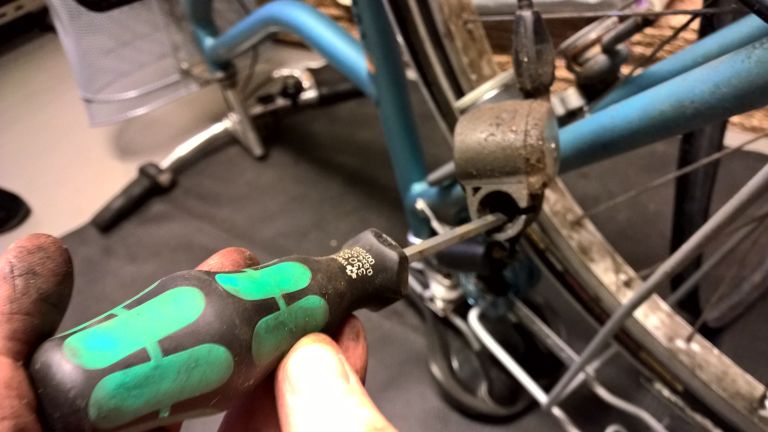
Loosen the screw
42

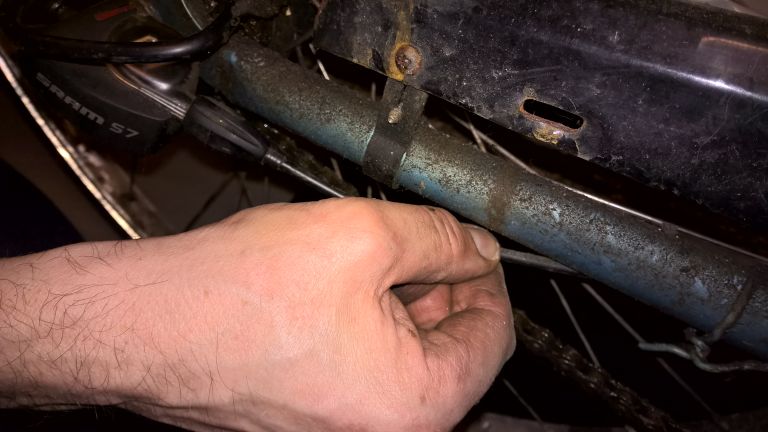
Pull a bit on the gearcable to create some slack.
That is needed because the gear-switchbox can only be taken off and re-mounted in a straight line (following the red line of the switchbox-guide that is visible on the top side)

If the gear-cable is mounted to the frame with straps or clamps, it can be necessary to loosen those in order to free the cable.
42

Then carefully slide the switchbox off the red guide.
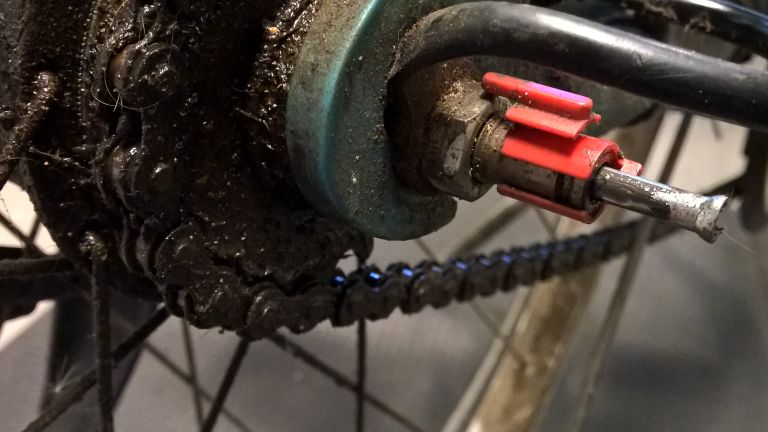
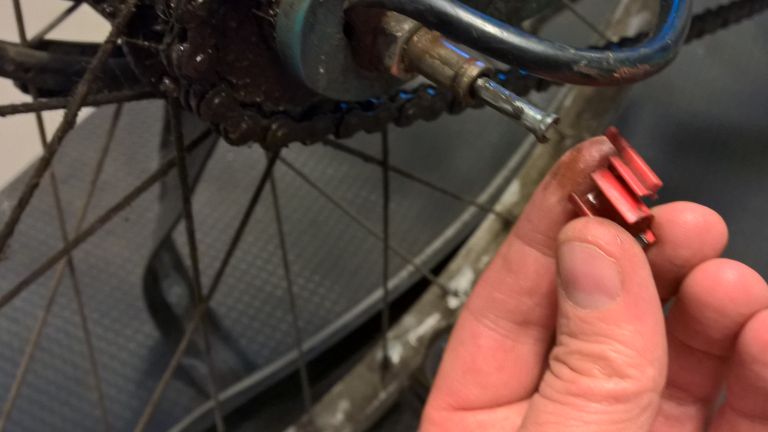
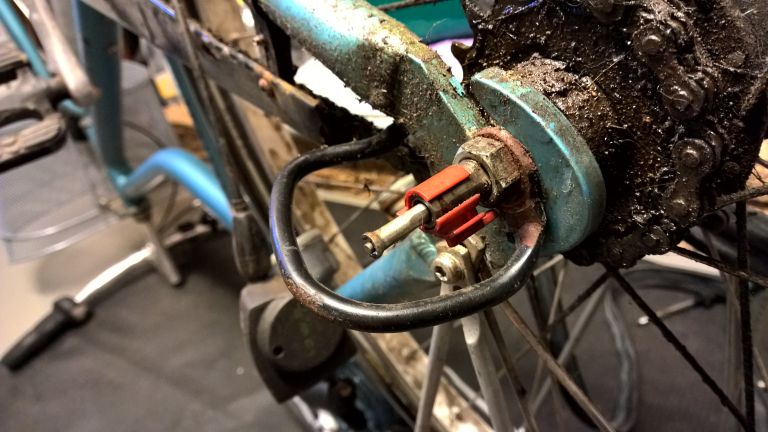
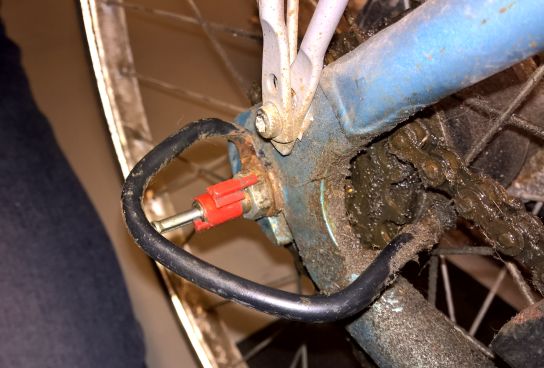
Notice how the red guide is mounted. Is is clicked in a ridge on the axle, and it has a little tap that keeps the gearshift-pushrods in the right direction.
42

Remove the guide, and be careful with it
42

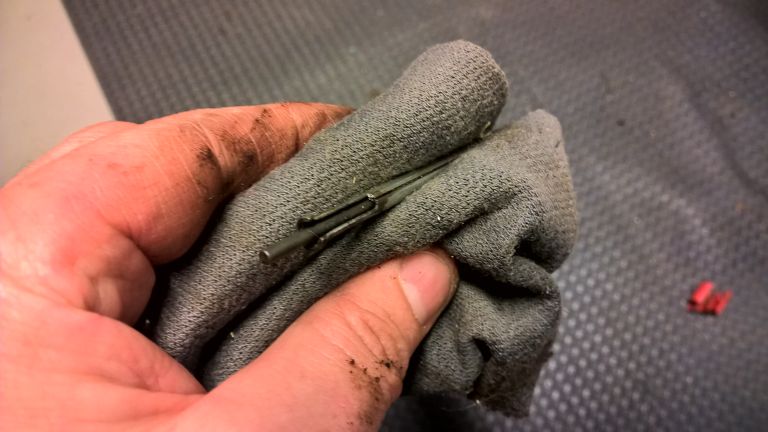
Also remove the push-rods. Be careful not to loose it or get sand in/on it.
42


Removing the rear-wheel .

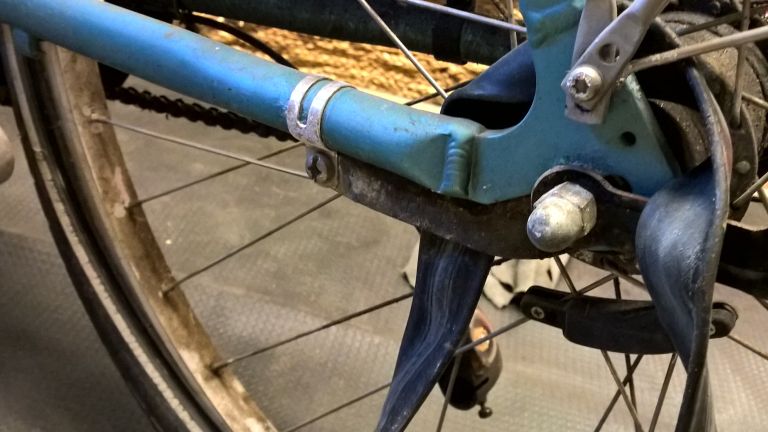
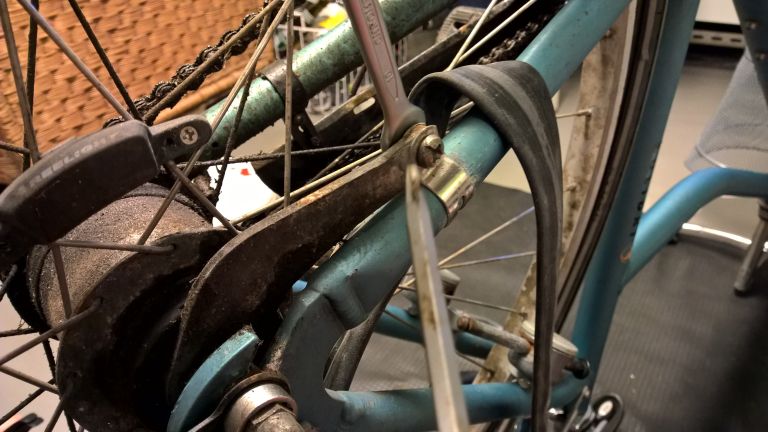
Notice the mounting-bracket of the brake on the left side of the rearwheel
42

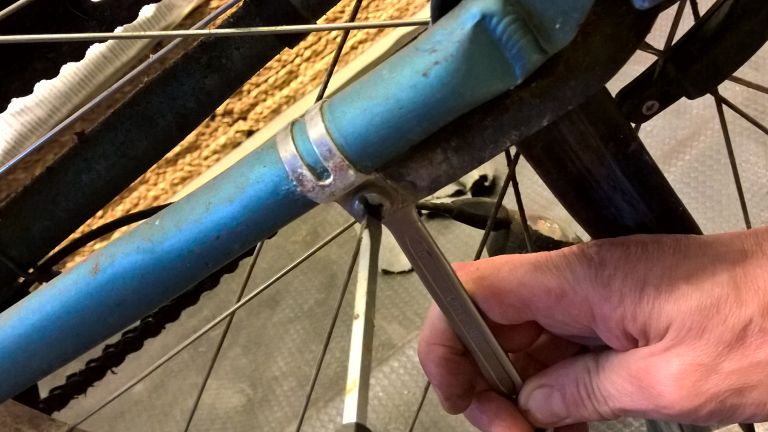
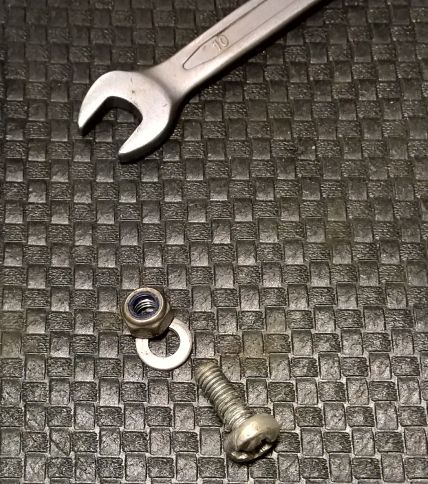
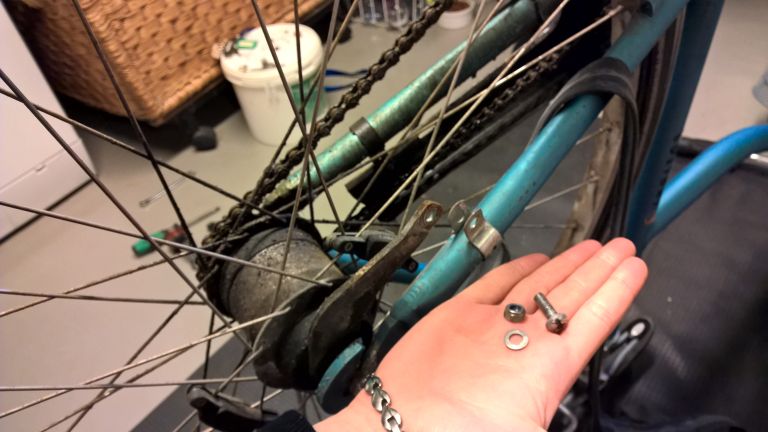
remove the screw and nut
42
the 10mm spanner is needed on the backside of the bracket. Notice the self-locking nut.
42

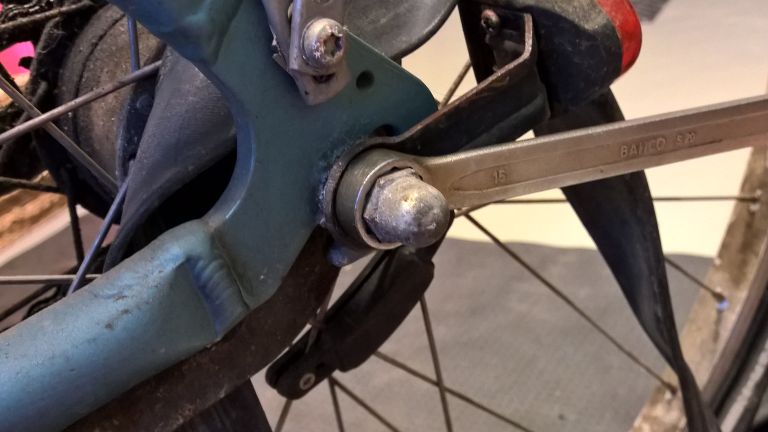
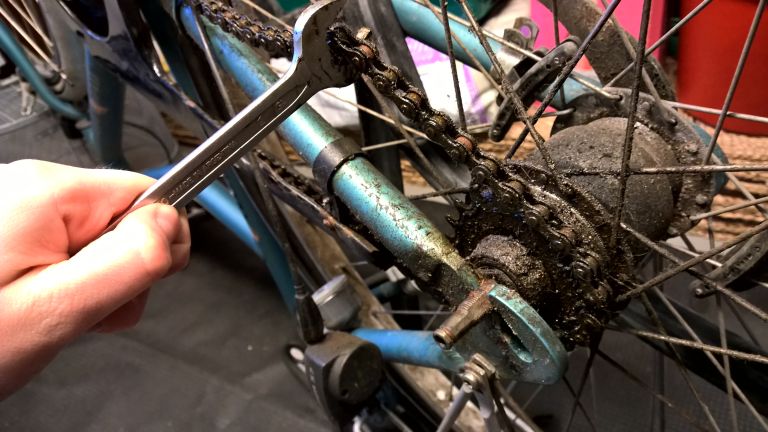
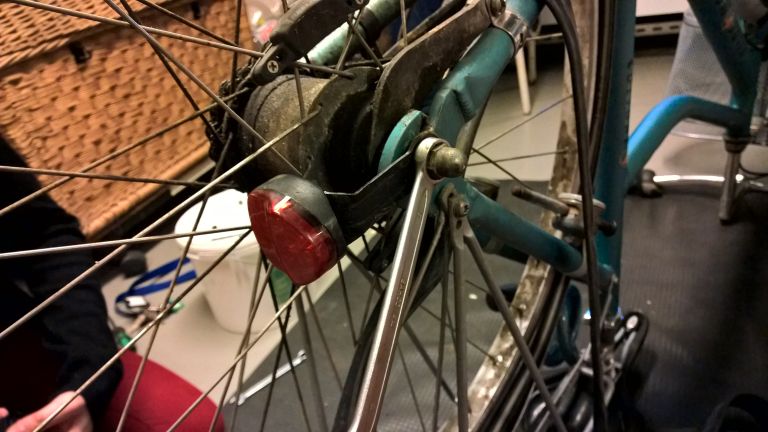
loosen the big 15mm nuts a bit on both left and right side of the weel.
42


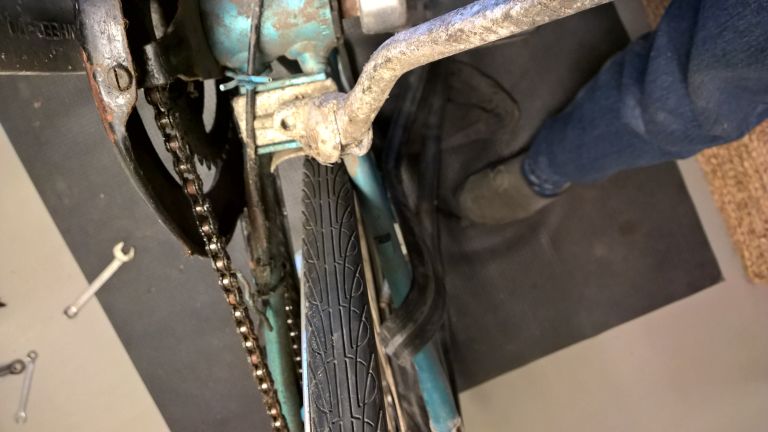
>>> Then this is the best time to place the bicycle upside down.

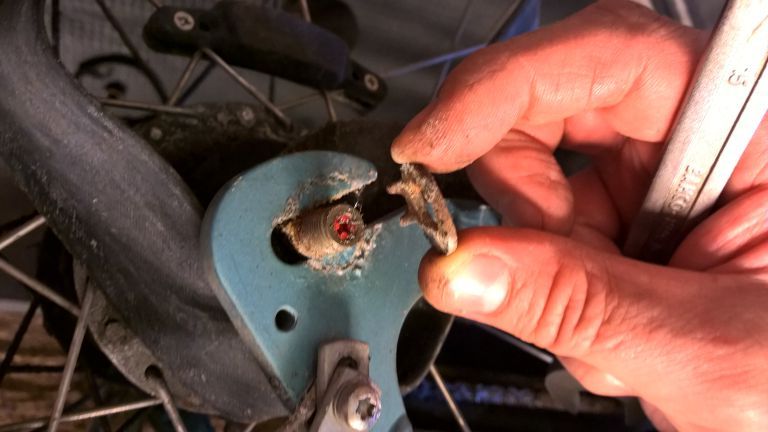
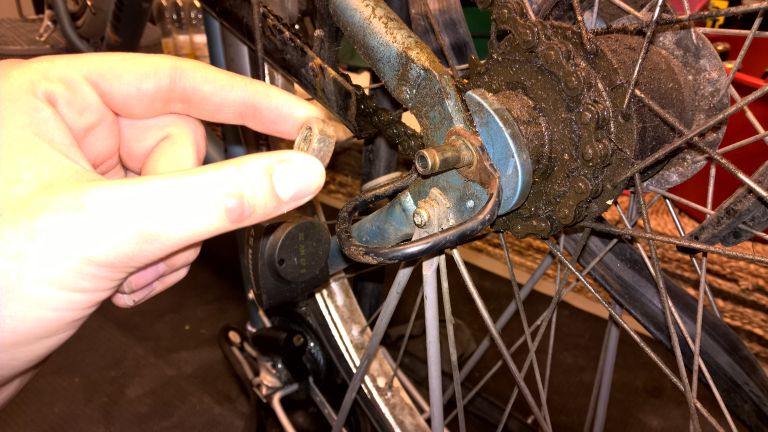
Now remove the nut and washer from left side.
42

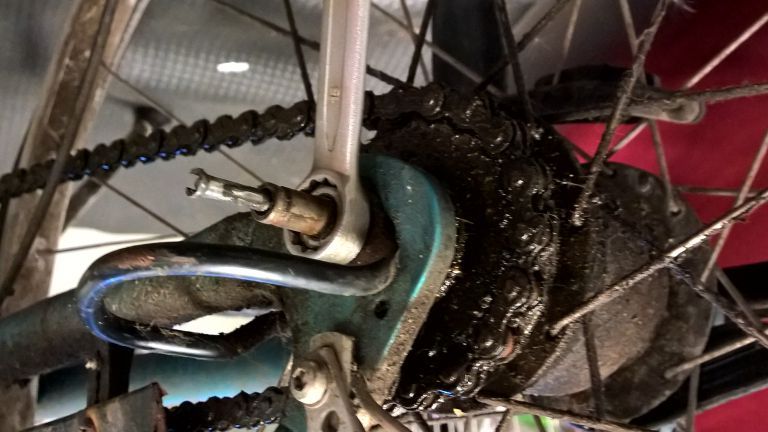
Take off the nut and "protection-bar" from right side.
42

Then lift out the complete rearwheel.
You can use the 15mm spanner to lift the chain off the cogwheel, so you dont get to much oil on your hands.
42


Now you have the complete wheel out, you can take off the tire and change tube.
It is also a good idea to check the inside of the tire for sharp things, like an unseen thorn protruding through it.


Mounting the rear-wheel and gearswitch .

place the wheel, and make sure the chain sits right on both the cogwheel in the back and the chainwheel in the front.
42

Mount the brake-screw and nut, but don't tighten it yet.
Tightening should first be done when wheel is aligned and chain has the correct tension.
42

The wheel has to be aligned yet, to sit in the middle at the cranck side.
42

Mount left and right axle-nuts; tighten them after adjusting the wheel position (pulling it a bit backwards) to leave just a little slack in the chain.
42

42

Don't forget to tighten the brake screw.
42


Insert the (cleaned) push-rods into the axle.
42


Click the red guide back in its place.
Be careful..!
The long red stripe has to point towards the nut, and the little tap at the other end has to sit in the slot of the outer push-rod.
42


>>> Then this is the best time to place the bicycle with its feet back on the ground.
(NB be careful not to let the push-rods fall out of the axle)


Rotate the red guide so the stripe is upwards, and check that the pushrods can move freely with the red tap in its slot.
42


NB the bike should be in 1st gear!
Push both levers inside the switchbox down, so they correspond to first gear.
If you don't do that, they can set themselves behind the push-rods so the gearshift is blocked.
42


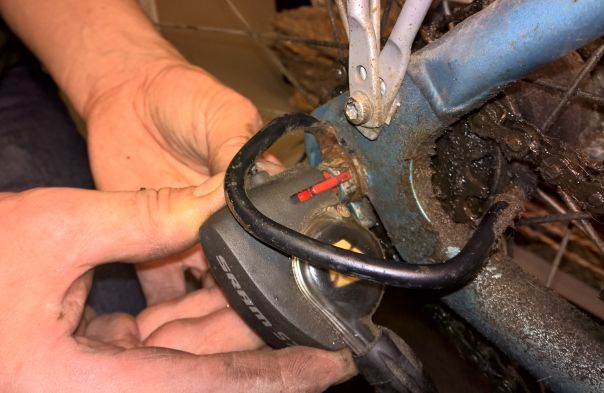
Very carefully place the switchbox over the red guide, making sure to do it perpendicularly on the bicycle, and NOT to use force.
42


If the gear-cable is mounted to the frame with straps or clamps, it can be necessary to loosen those in order to free the cable.
You might have some retries, before both the hole and the red stripe fit. Than tighten the screw.
42


Now try to change gears back and forth, and notice the mark alignment of the switchbox when in 4th gear.

Straighten up the gearcable.

Done !