High power laser
Build your own laser from a dvd-writer. (There is a video of its performance at the end of this page)
NB: this project involves a great deal mechanics and is not so easy, so if you really want to make this you will need some patience.
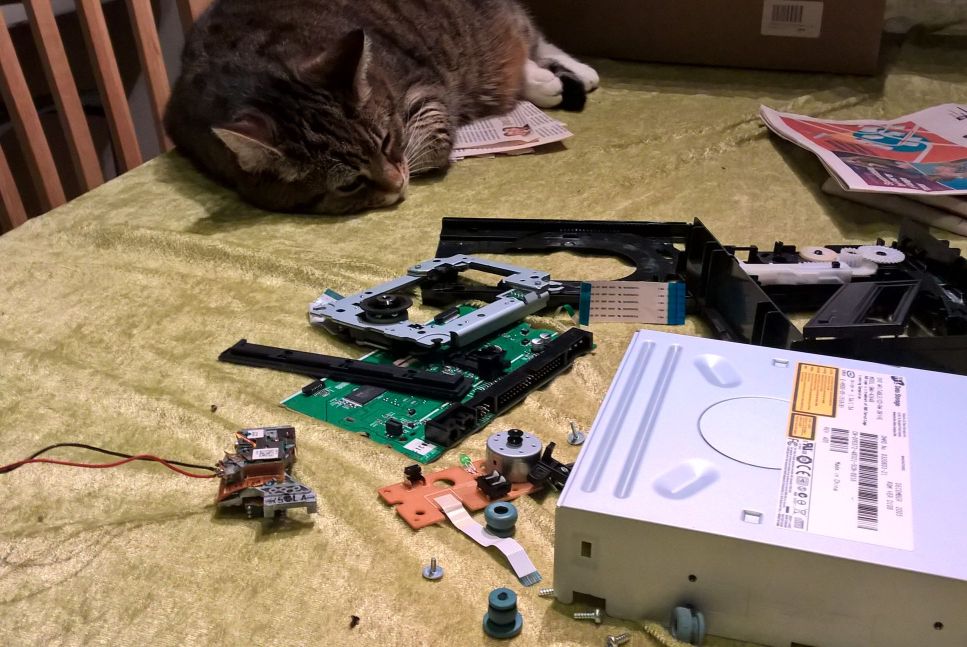
And it is a good idea to have several versions dvd writer at hand...
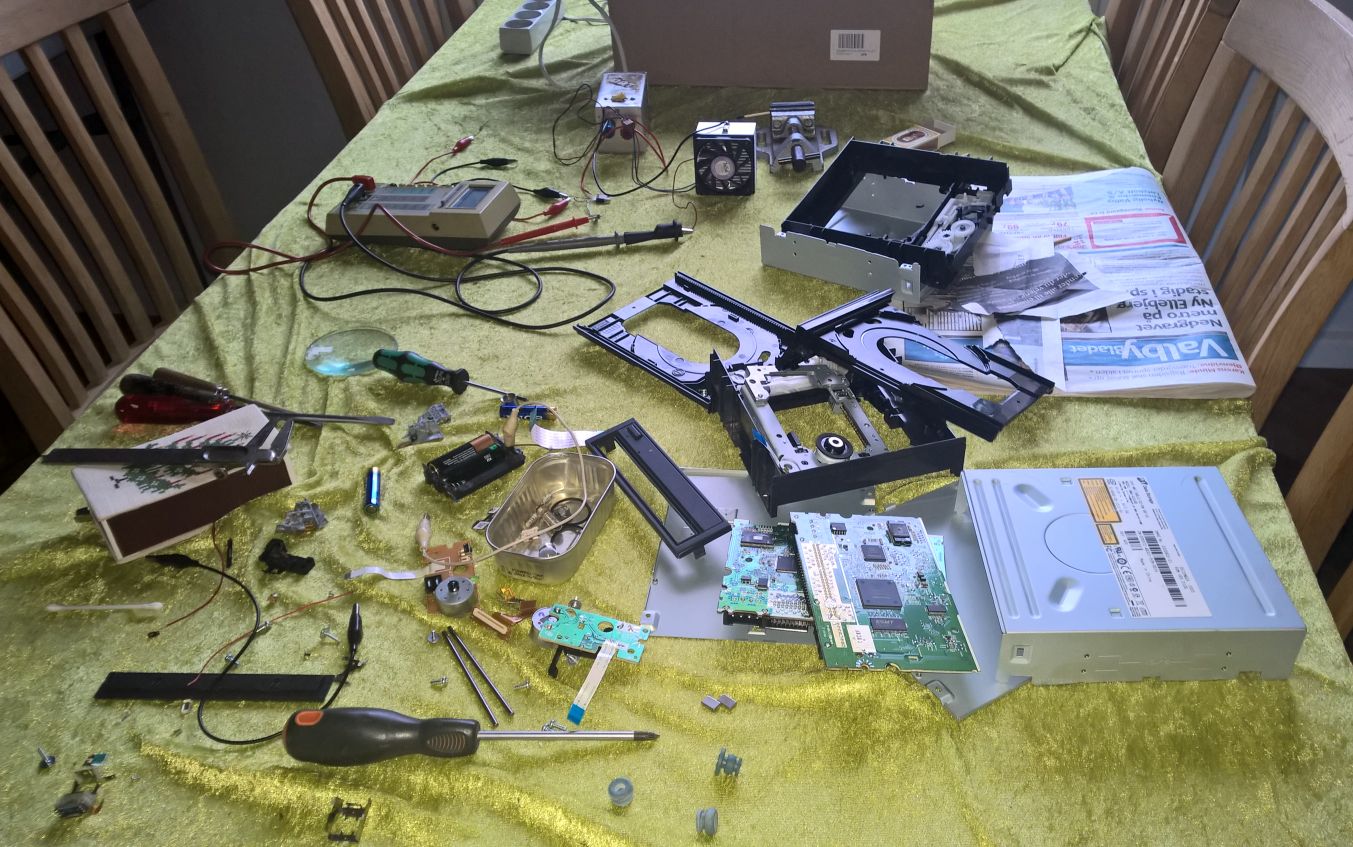
A dvd-writer has a laser diode that is powerfull enough to burn holes in paper or light a match!
A dvd-player doesn't have it, and a cd-writer doesn't have it either.
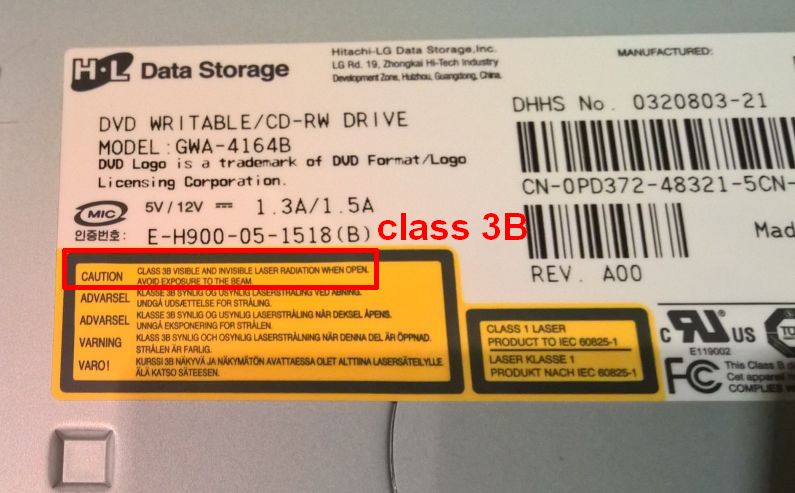
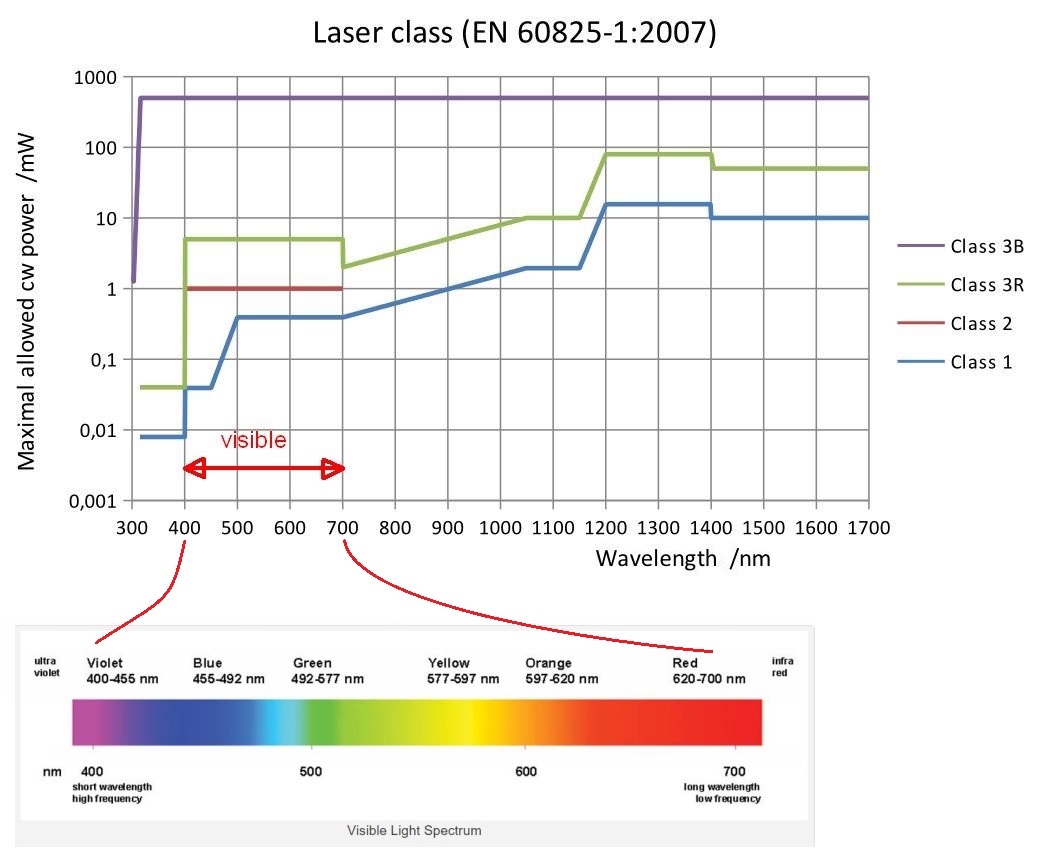
It has to be a version with a CLASS 3b laser (dangerous!! do NOT look into the light or show it to your cat!).
A CLASS 1 is not powerful enough (and even harmless to look directly into its light).
The laser diode can be found on the bottom of the carriage mechanism.
There is a RED that we want to use and an INFRARED that we don't use.
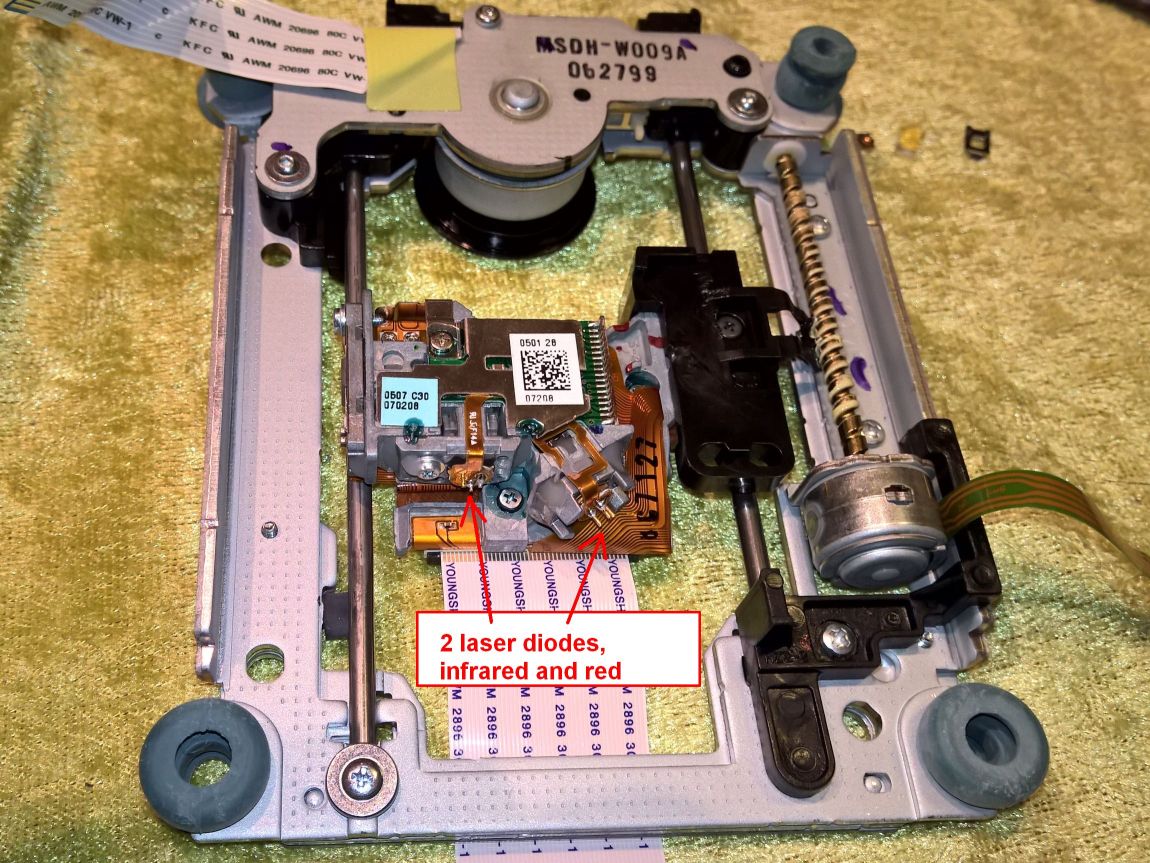
Inside the carriage there is a bunch of mirrors and lenses and other fancy optics. We cannot use that.
First we have to find out which diode is the red one:
Connect the diode with a 27 Ohms series resistor to a 3V supply, and check which diode gives a red light.
Mind the plus and minus (picture is seen from the terminal side), otherwise you could destroy your precious laser diode.
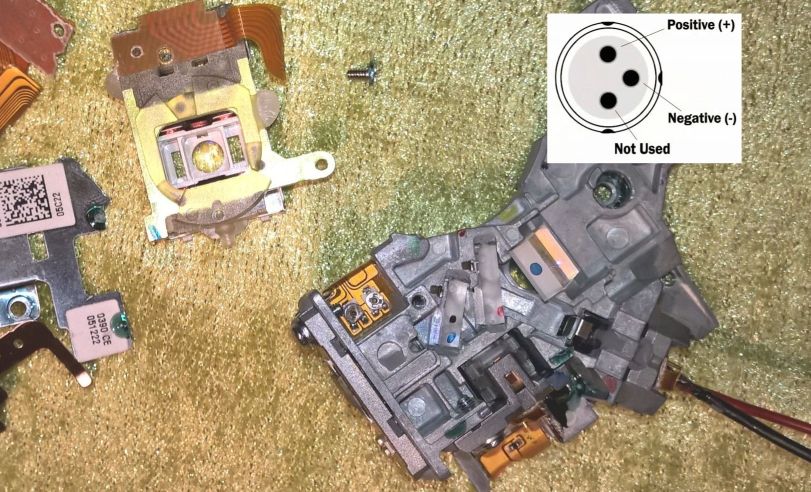
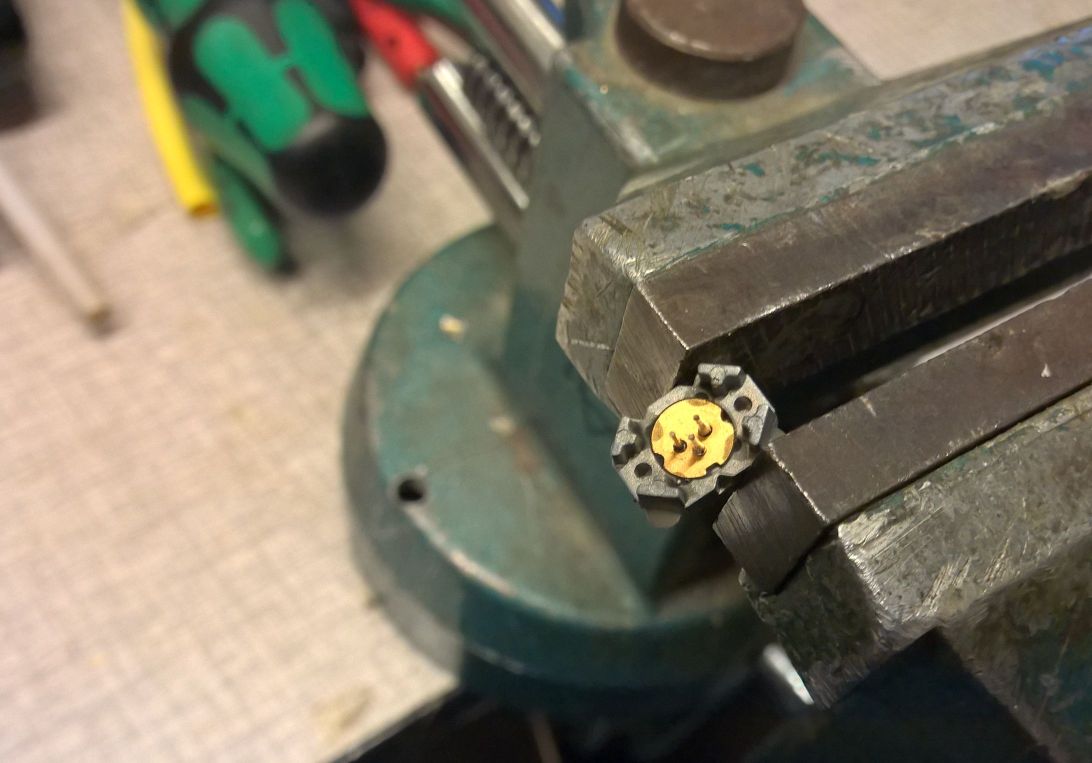
Carefully remove the red diode. You might need to saw the metal in order to get the diode out.
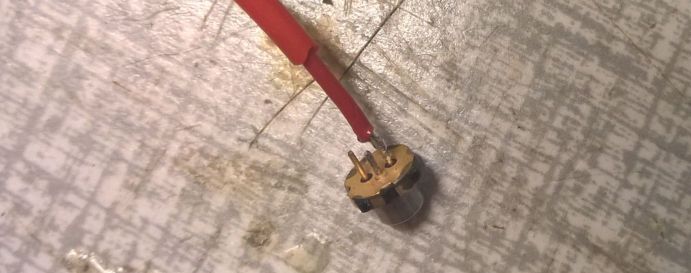
Solder a red wire to the positive diode pin, and isolate it with a sleeve.
It has to be soldered on the inner side, in order to keep as much as possible of the flange free.
That is needed so we can use a block of metal with a hole to keep the diode pushed into place in the cooler.
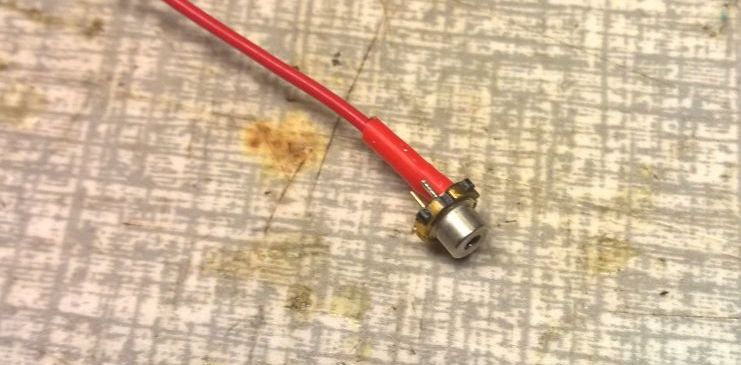
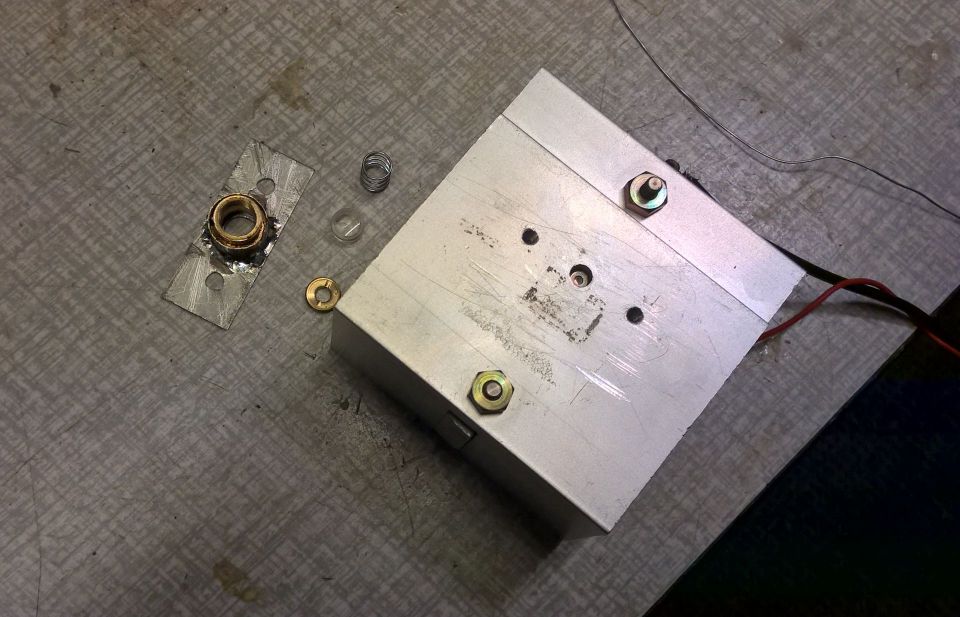
Use a cooler from a CPU and drill holes for the laser diode (4mm) and two m3 screws (3.5mm).
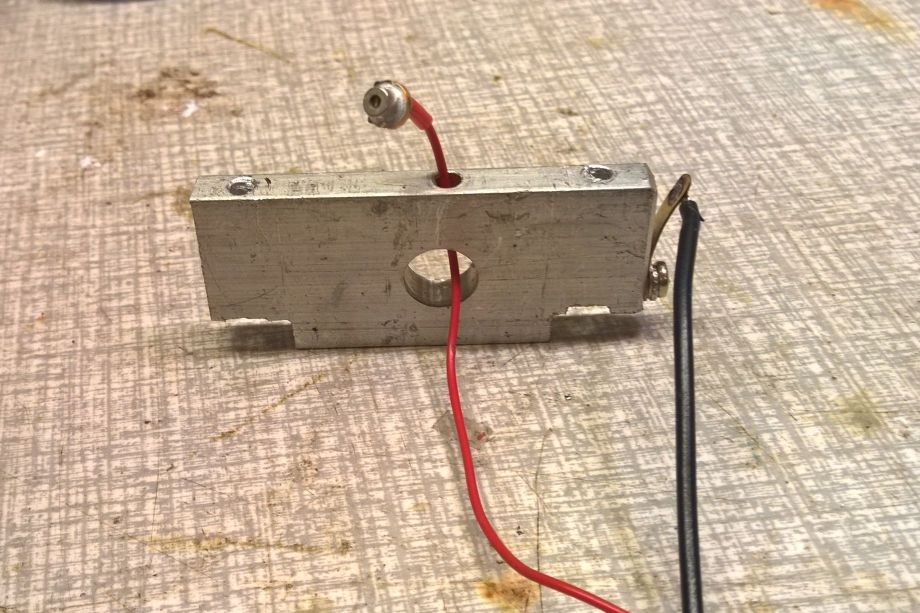
Make a block that can keep the diode pushed into the hole of the cooler.
Use some heat-paste between diode flange and cooler, so it gets good thermal contact.
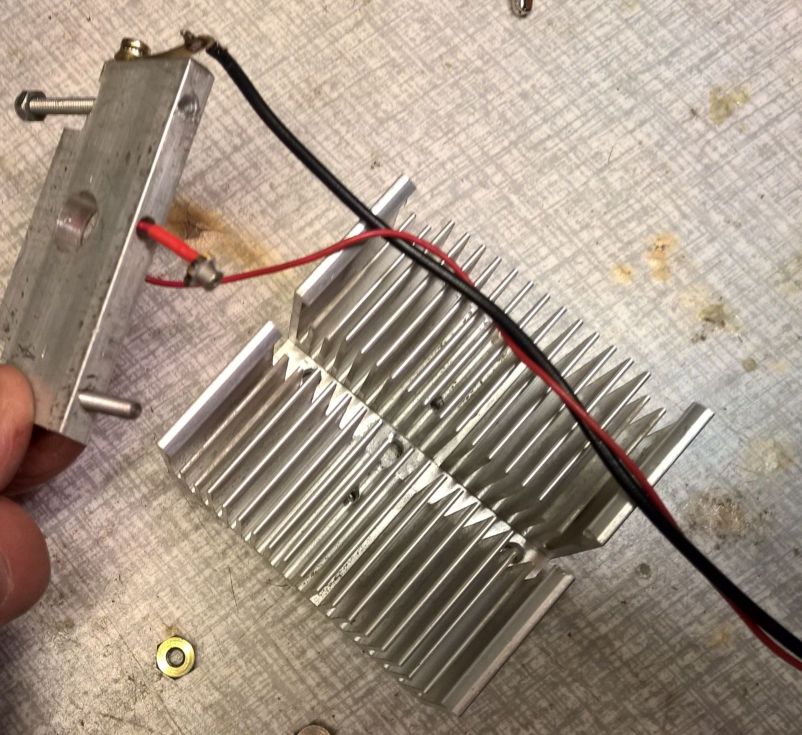
The laser diode positive wire goes through the hole, the negative side is connected to the block.
In order to focus the laser beam, we need an adjustable lens.
This can be taken from a cheap laser pointer.
Carefully unscrew the focussing screw and take out the lens and the spring. Don't loose them.
The lens-focussing stuff has to be modified, for mounting on the cooler with the CORRECT DISTANCE to the laser.
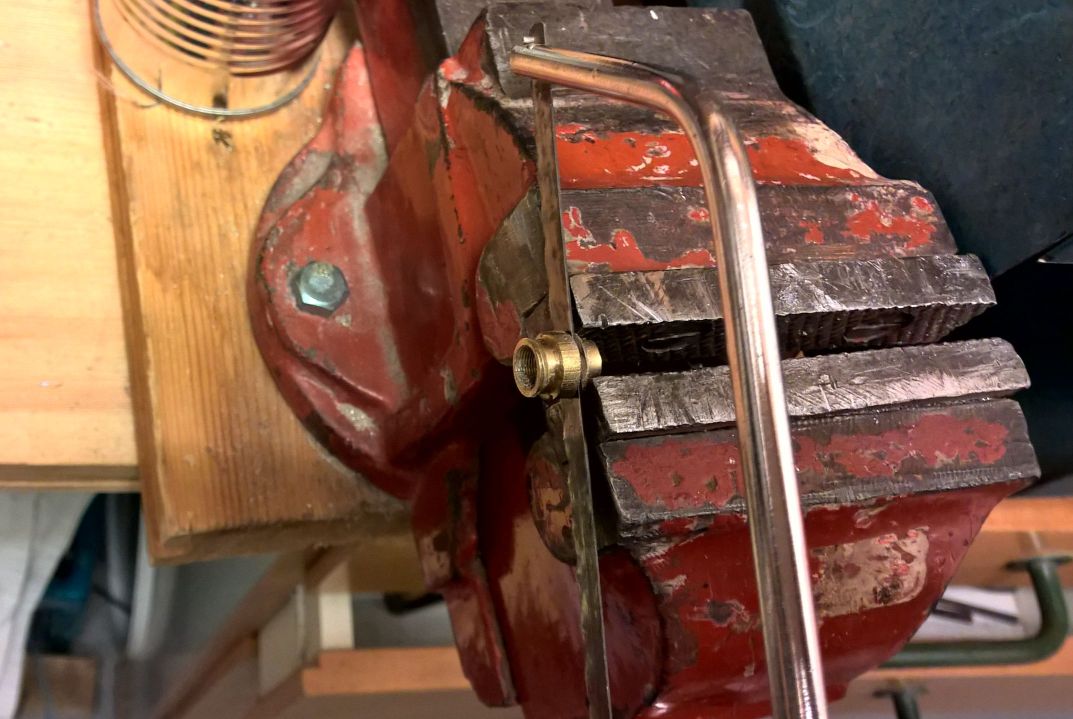
When soldering it, the lens has to be removed, because it is plastic! (I learned that the hard way..)
The lens focusing assy is mounted onto the cooler with m3 screws after making holes with thread into the cooler.
Notice the laser diode looking out of its 4mm hole :]
The laser diode has to be supplied with a CURRENT source, not a voltage source.
We will use the diode at a very high power that will distroy it immediately when it is not done correctly.
The diode voltage at high current is approx 3.5V, but when the temperature of the internal junction increases this voltage decreases, so the current would go up and destroy the diode if we didn't use a current regulator.
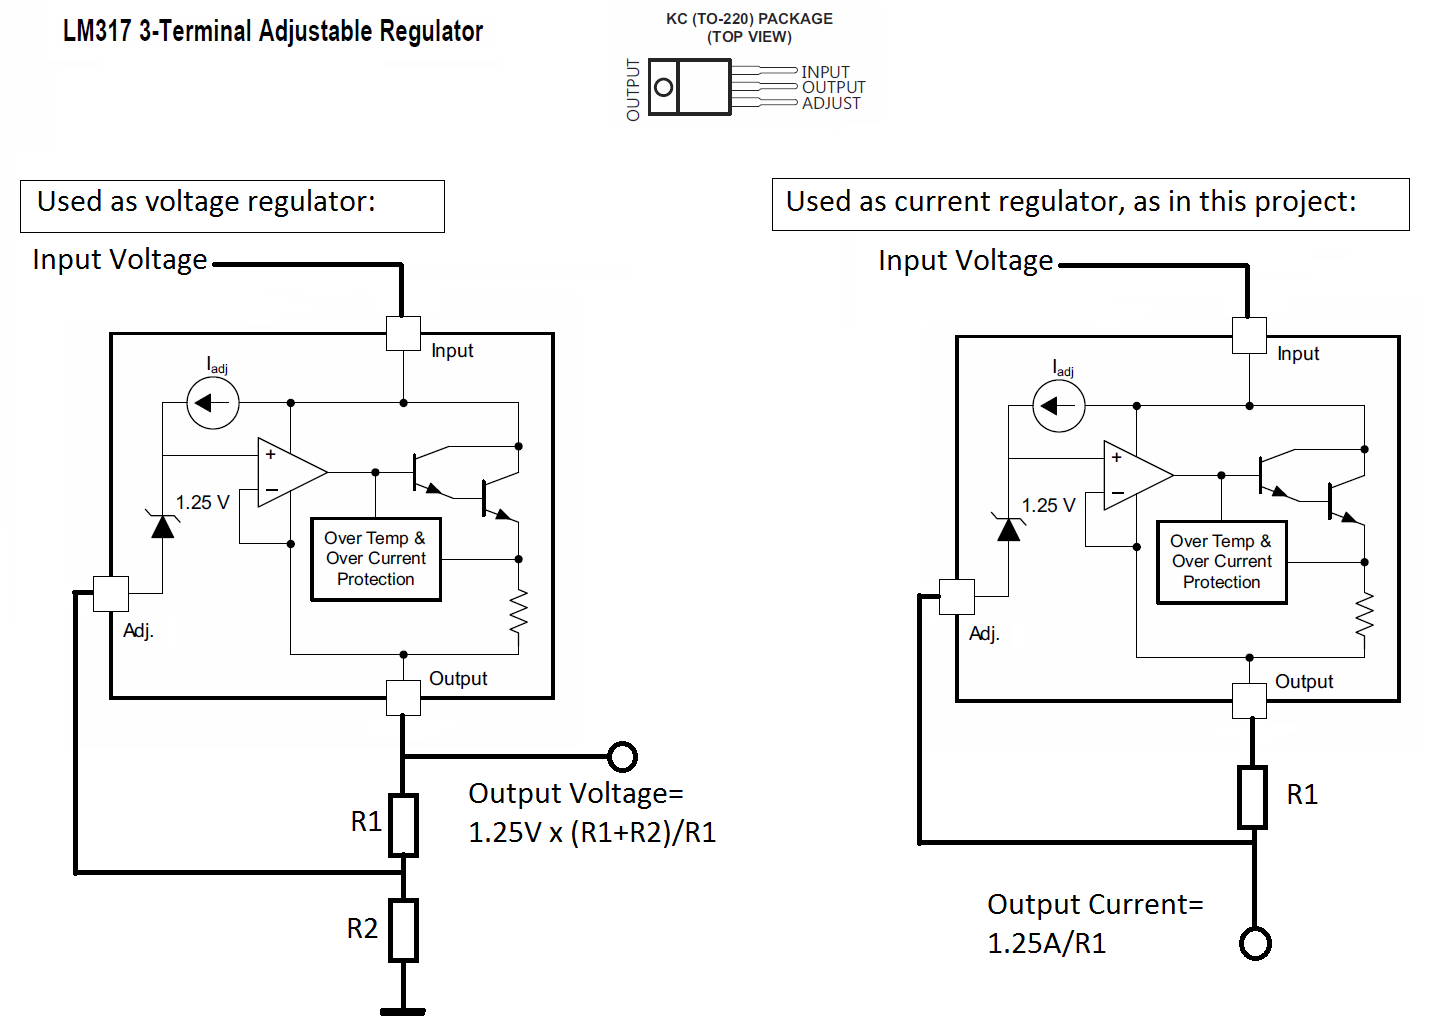
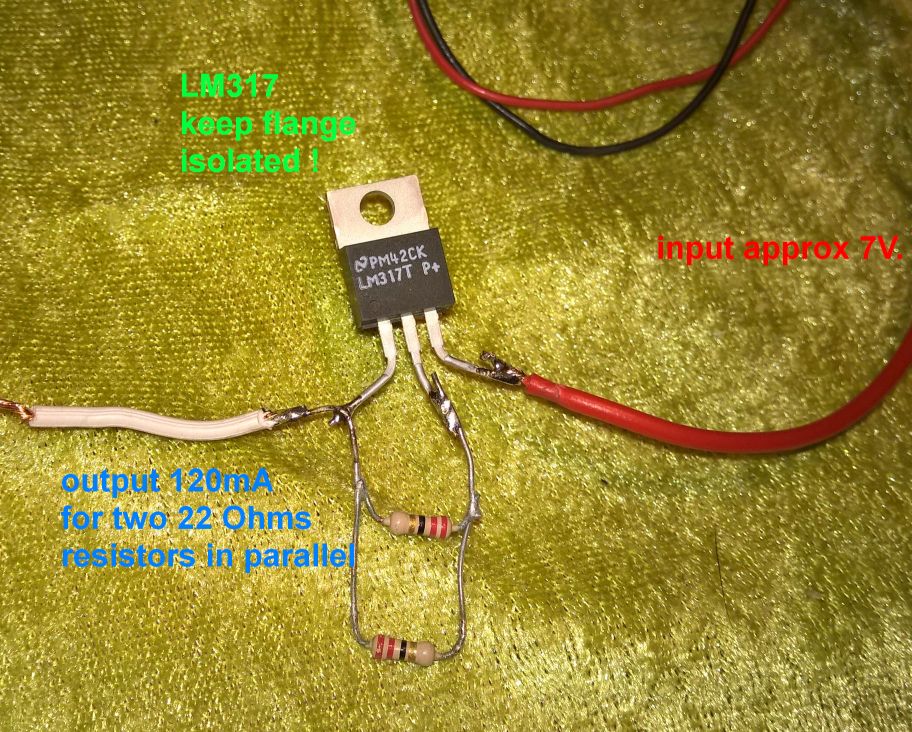
HIGH / LOW power:
I use two 22 Ohms resistors in parallel for R1 as LOW POWER (approx. 170mA in my setup).
In order to light a match, I connect an extra 10 Ohms resistor in parallel for HIGH POWER (approx. 360mA in my setup).
Both low and high power can destroy your eyes.
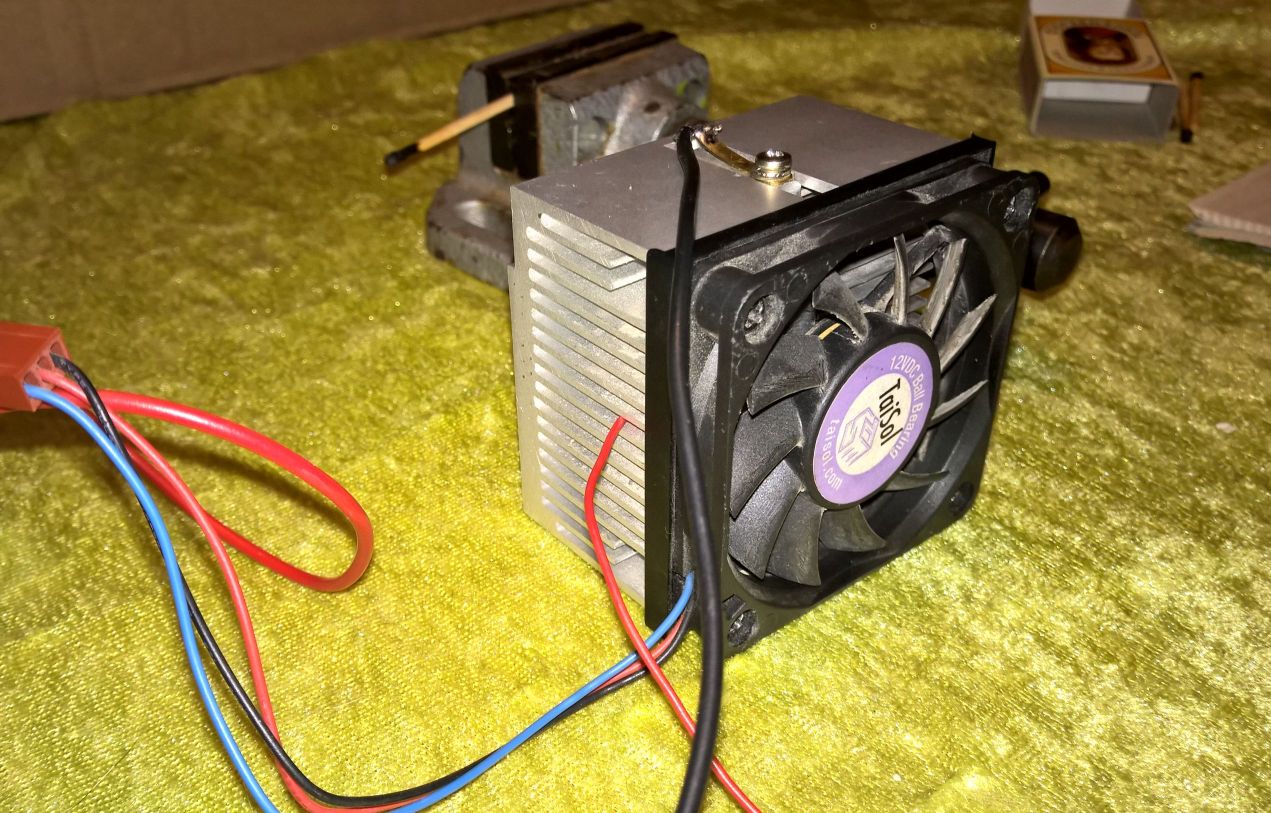
It is a good idea to mount a blower on the cooler if you have one that fits.
Not that the cooler gets hot, but the little diode-chip inside the laser diode does! And the diode doesn't have a very good thermal resistance, so it is a good idea to keep the cooler really cold when you are going to use the diode at average powers that are a factor 10 higher than what it was designed for...
And here it is, powerful enough to burn something...
NB: it is VERY IMPORTANT to get a good focus, in order to concentrate the light power.
The following video demonstrates the awesome power:
this page is made with Notepad2