A mouse can be repaired!. .
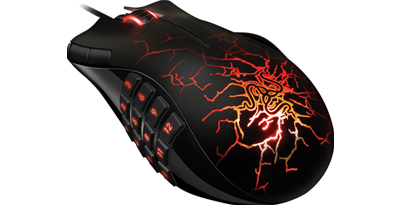
And it is worth it, when it is a legendary discontinued mouse like Razer Naga Molten
- non-clicking switch
- bouncing switch
- loose contraweight
A mouse can be repaired!. .
And it is worth it, when it is a legendary discontinued mouse like Razer Naga Molten

- non-clicking switch
- bouncing switch
- loose contraweight
Explanation:
#1 loose contraweight.
That repair was already done after short time use.
The weight is mounted inside the top cover with a screw on a stag which can break off, but it can be easily glued in place.
#2 bouncing switch.
This happened (after several years) with the right top mouse button.
The contacts inside the switch get worn and pushing the button would produce a burst of clicks instead of just one.
The solution is to change the switch inside the mouse, but this is a standard component so spareparts can easily be found in other unused random mice.
#3 non-clicking switch.
This happened (after several years) with the left top mouse button, which is the one that is used most.
The plastic arm that is pushing down on the switch will get worn and develop a dent, so the switch cannot be pressed down sufficiently.
The solution is to file the arm in order to remove the dent, and raise the switch a few tenths of a millimeter in order to compensate for the distance between switch and arm.
Since the switch probably is worn a lot as well, it should be changed to a new one as above.
Repair:
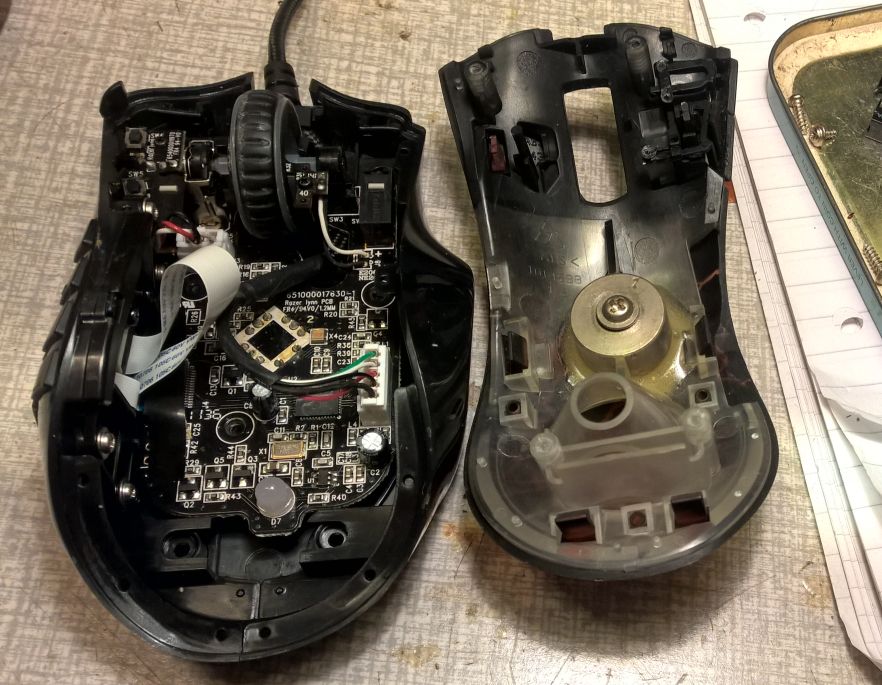
-- Open the mouse by removing bottom screws.
The 4 screws can be found when you remove the "glide tape".
Than the top can be liftet off cautiously, taking care not to destroy the two small left top buttons.
Notice the repaired weight, glued in the top section.
-- Check the switches and find spareparts.
The mouse has to be taken totally apart, so the circuit board can be handled seperately.
Locate the switches and find an unused mouse that can be used as spareparts. That is not a problem as the switches are standard in most mice, and when we use the switches from middle or right buttons they will probably be OK.

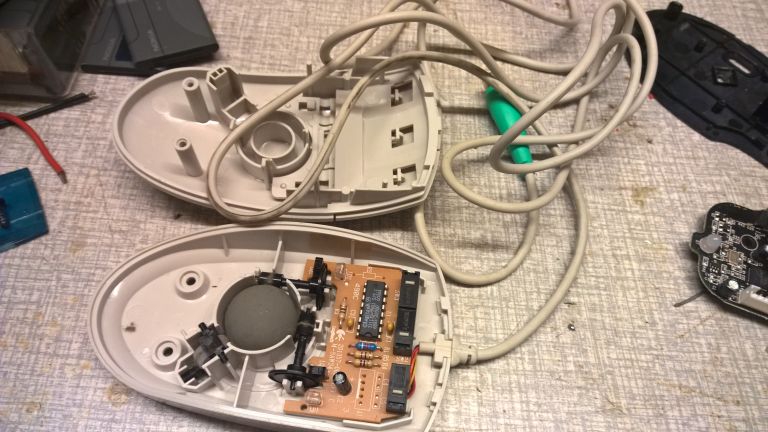
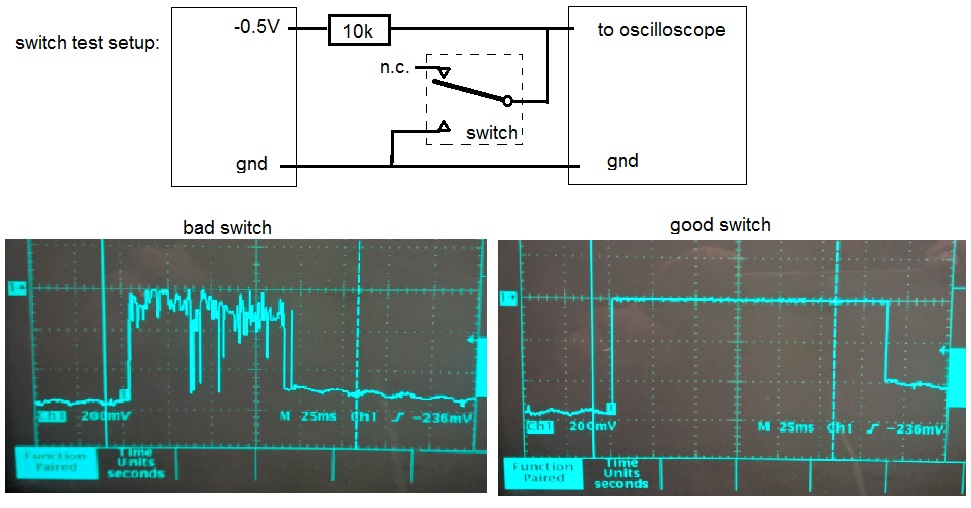
But we have to test the switches in order to be really sure they are OK, because changing the switches in our mouse can damage the board if done several times.
Fortunately the test can be done while the switches are still on a mouse board.
The switch has 3 pins, from which the one that is on the same side as the little lever is the common contact.
-- Check the button-arms.
These can easily be checked without taking off the outer shell, but maybe you want to clean away the dirt that has been collected under the shell during the years. >>>> be careful not to break the button-arms that have unexpected hooks; it needs sliding the shell after unclipping the hooks in the other end:
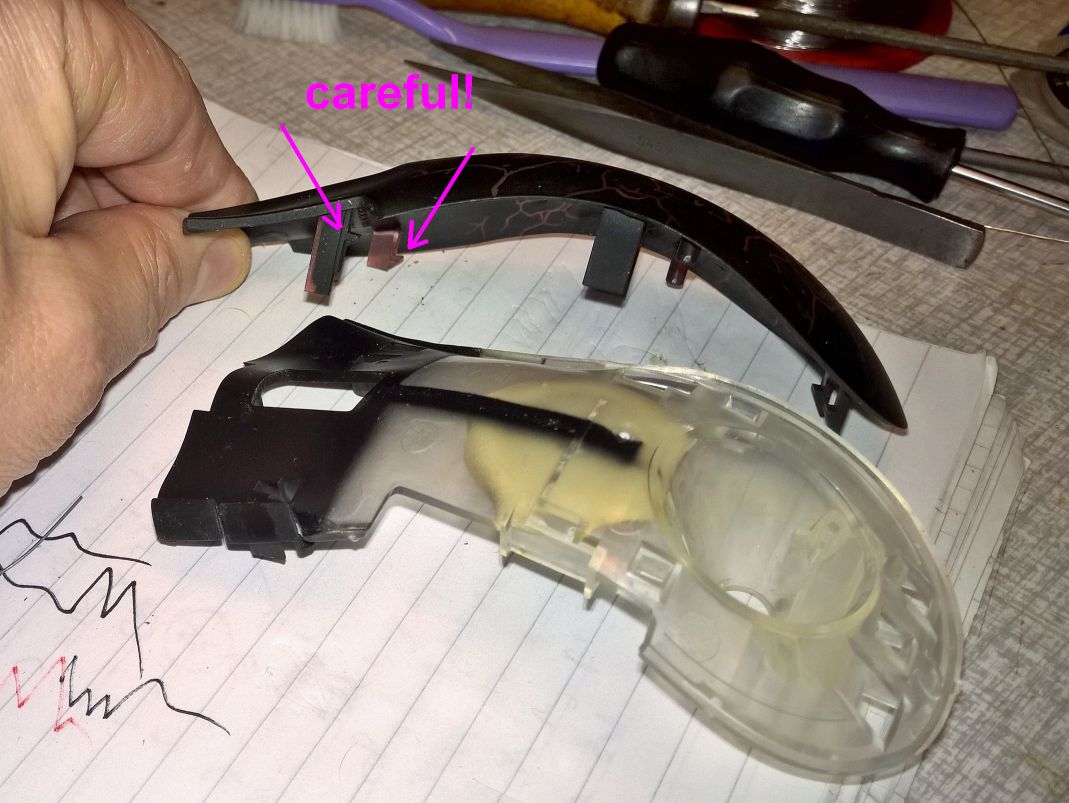
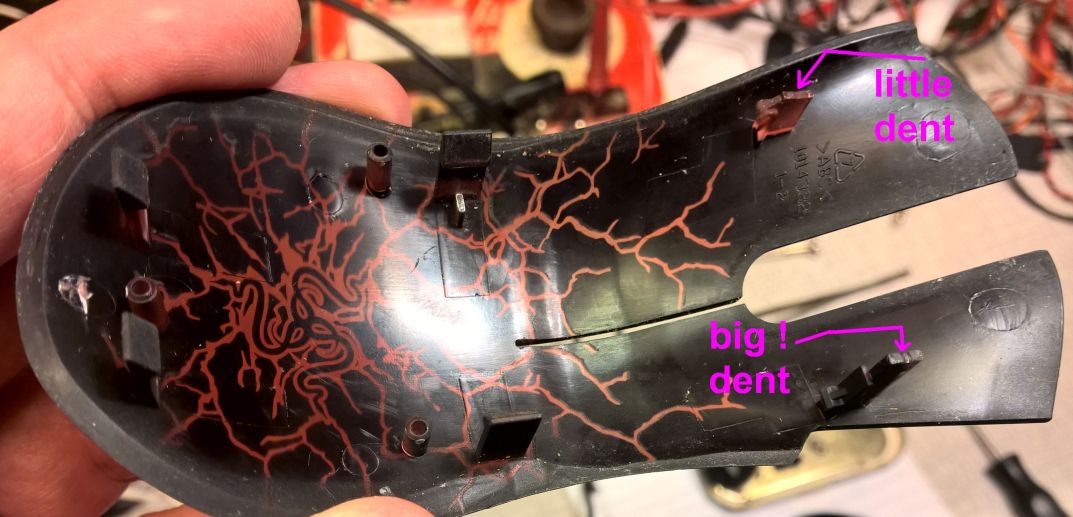
It can be seen that the arm from the left mouse button that pushes down onto the switch lever has developed a deep dent.
Measure the depth, which should be compensated for when mounting the new switches, and carefully file the arms to remove the dent.
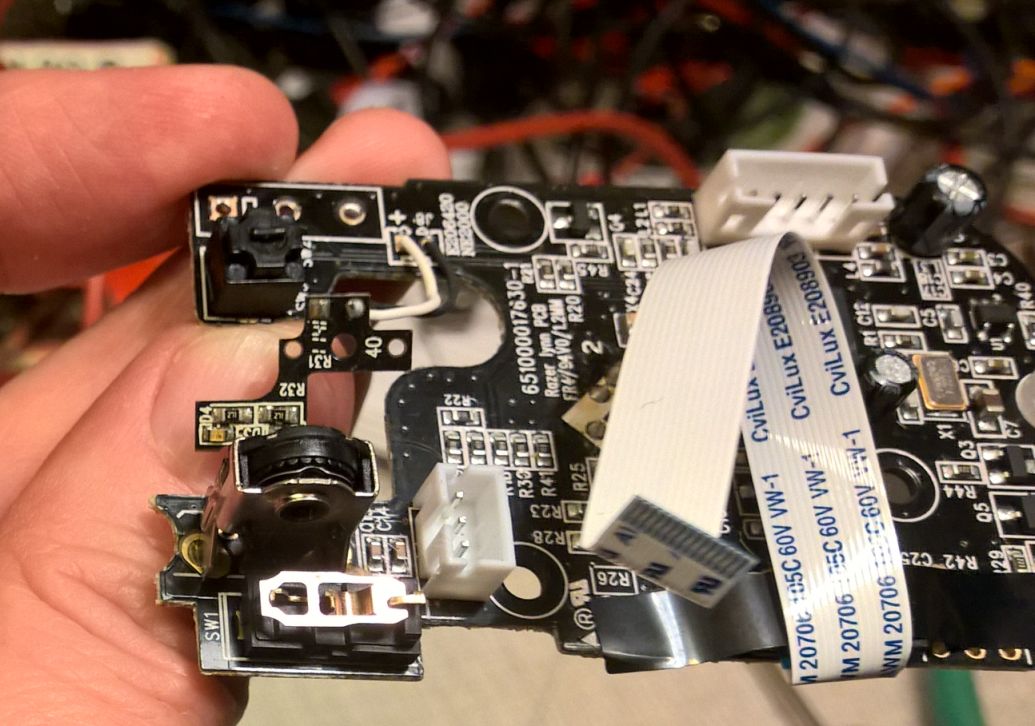
-- Changing the switches.
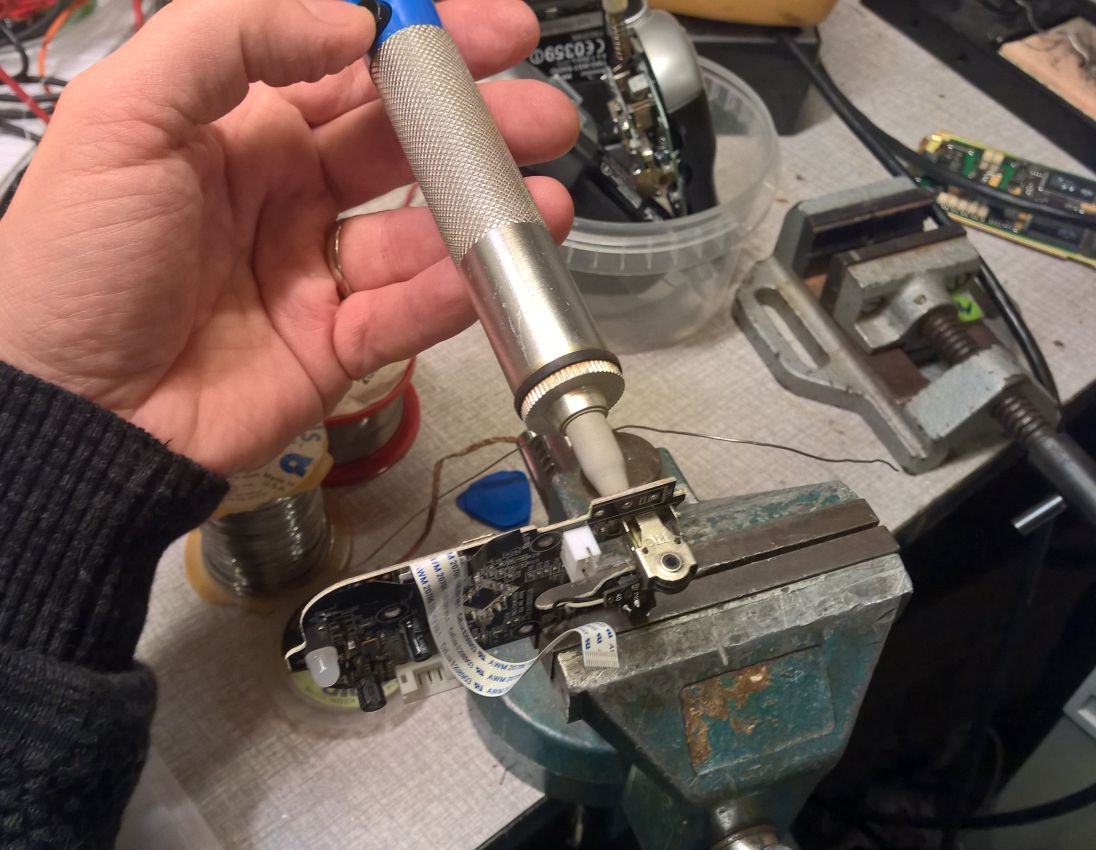
To remove the switches, you have to be careful not to damage the board. The easiest way is to take the switch apart and solder out each of the 3 pins separately. It works fine with a 80W soldering iron, and the pins can be pulled out through the plastic part that will come off together with the last pin.
The soldering holes in the board have to be opened by sucking out the solder (while carefully heating with a soldering iron on the other side)
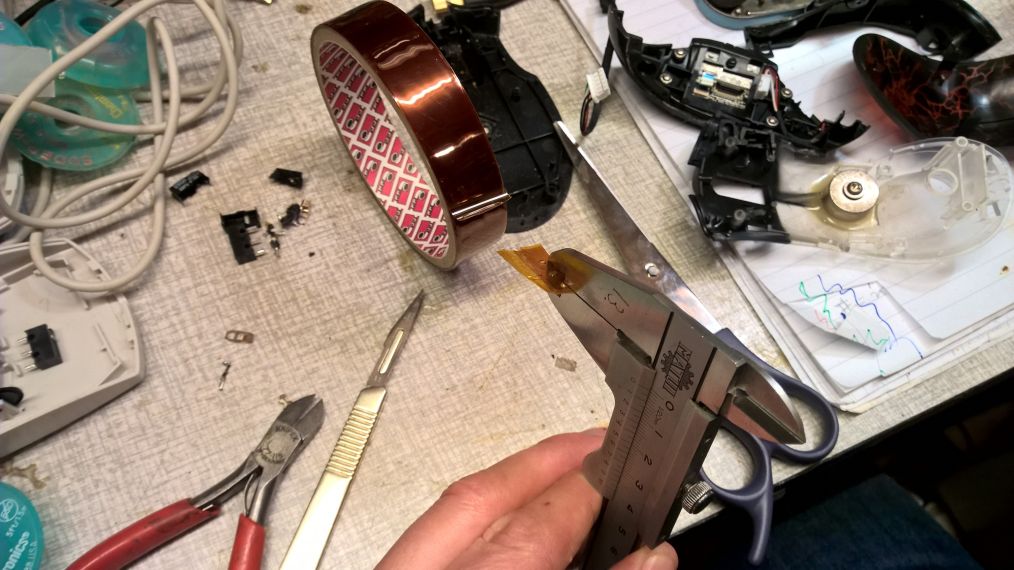
Now we have to fabricate some washers with the right thickness to put between the board and the new switches. The thickness should be correct for compensating the reduced length of the button-arms. The best way to do this is by using several layers of capton tape, which is heat-resistant and thus will not disappear during soldering.
In our case we needed 0.35mm for the left button.
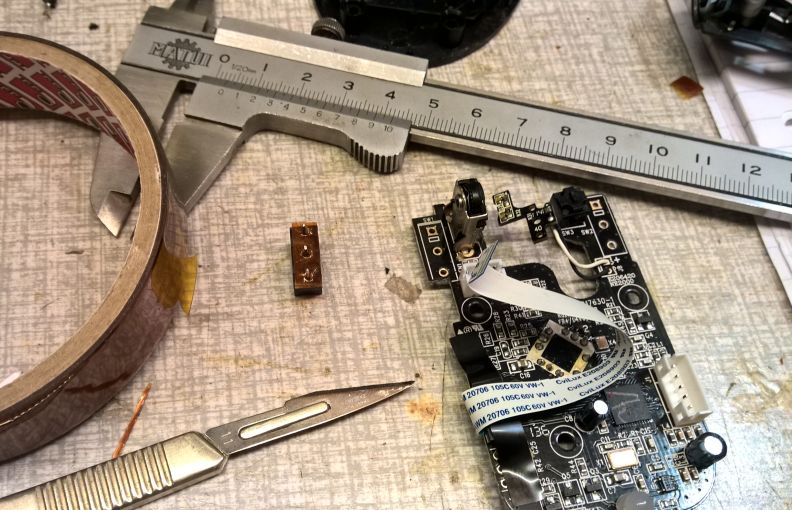
Carefully solder the switches into place.
! They should be held down to the board while soldering; first solder the middle pin and then check if everything sits right.
-- Now it is time to assemble the thing again.
NB Remember to route the USB cable underneath and through the hole in the board before connecting it again and mounting the wheel...

this page is made with n073p4d 2